Frame Assembly

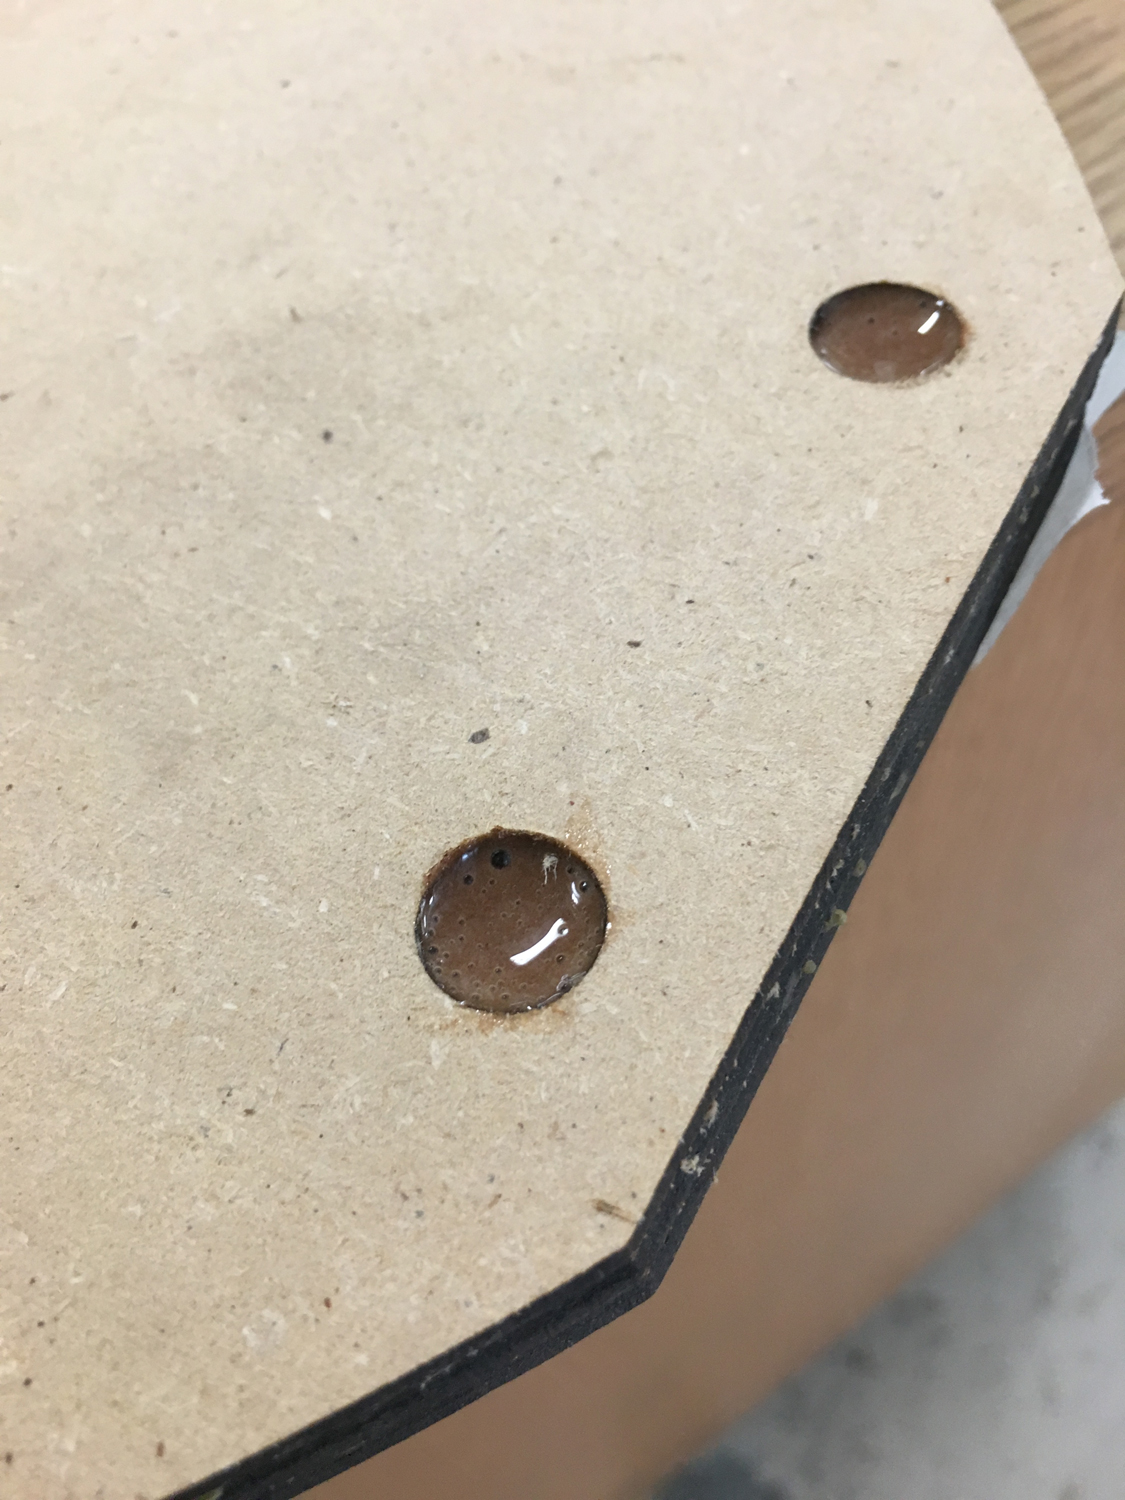
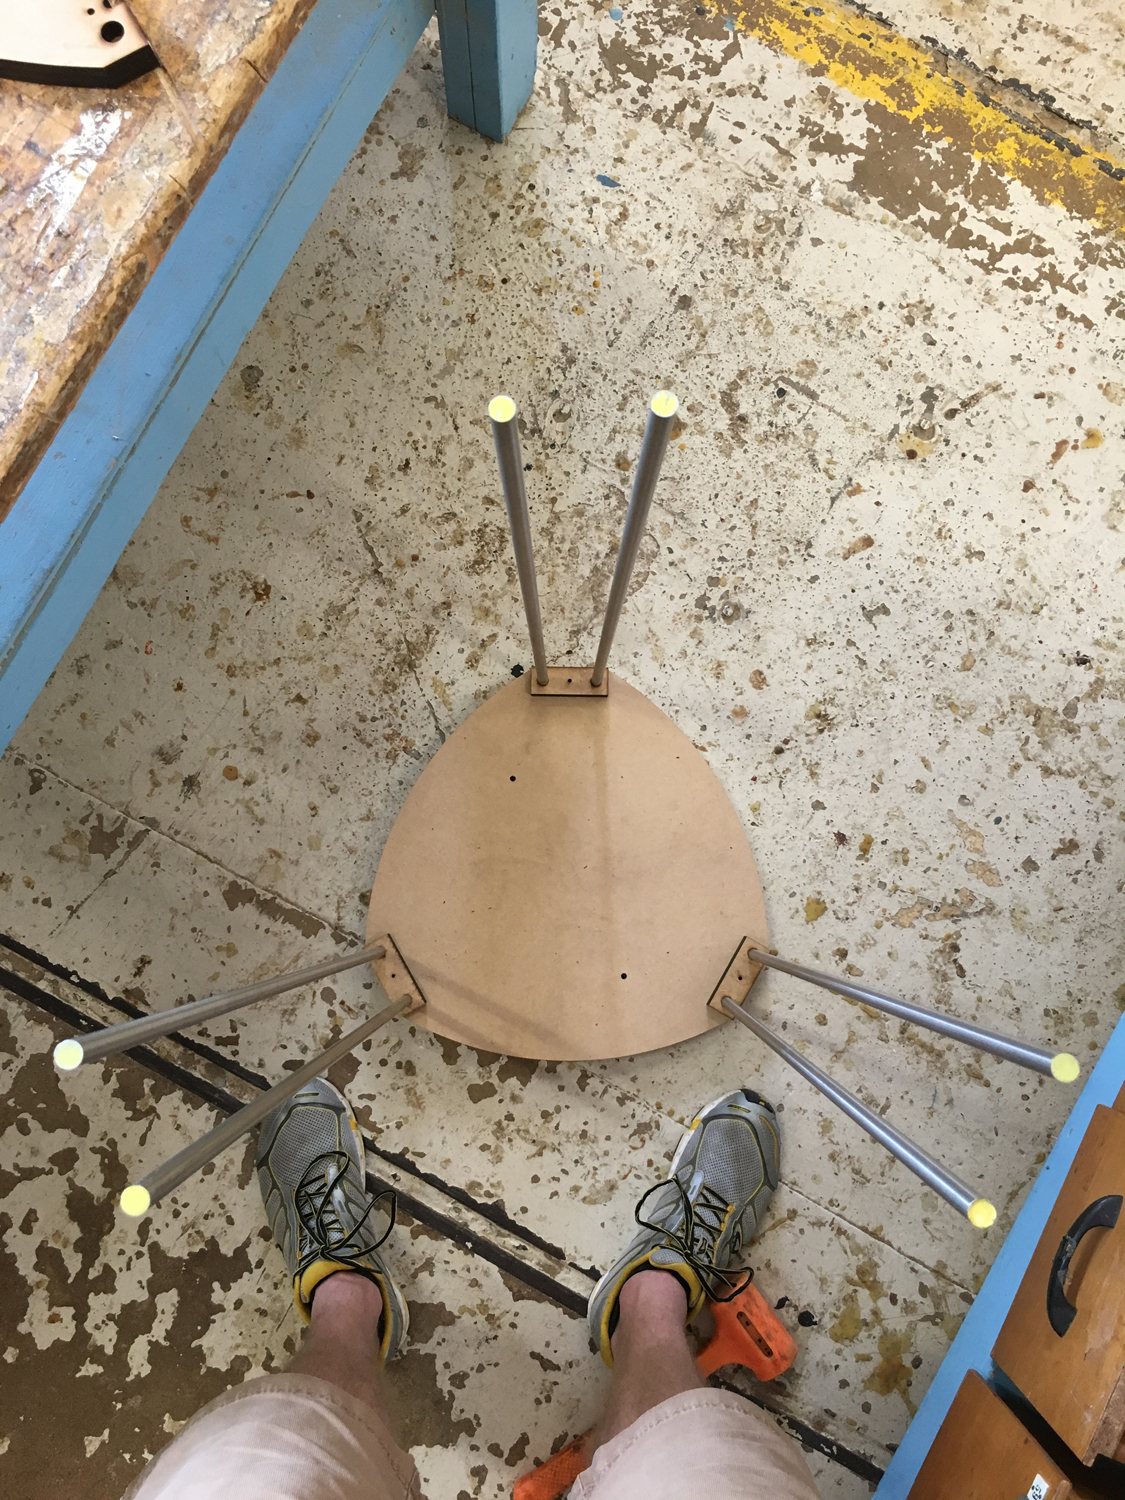
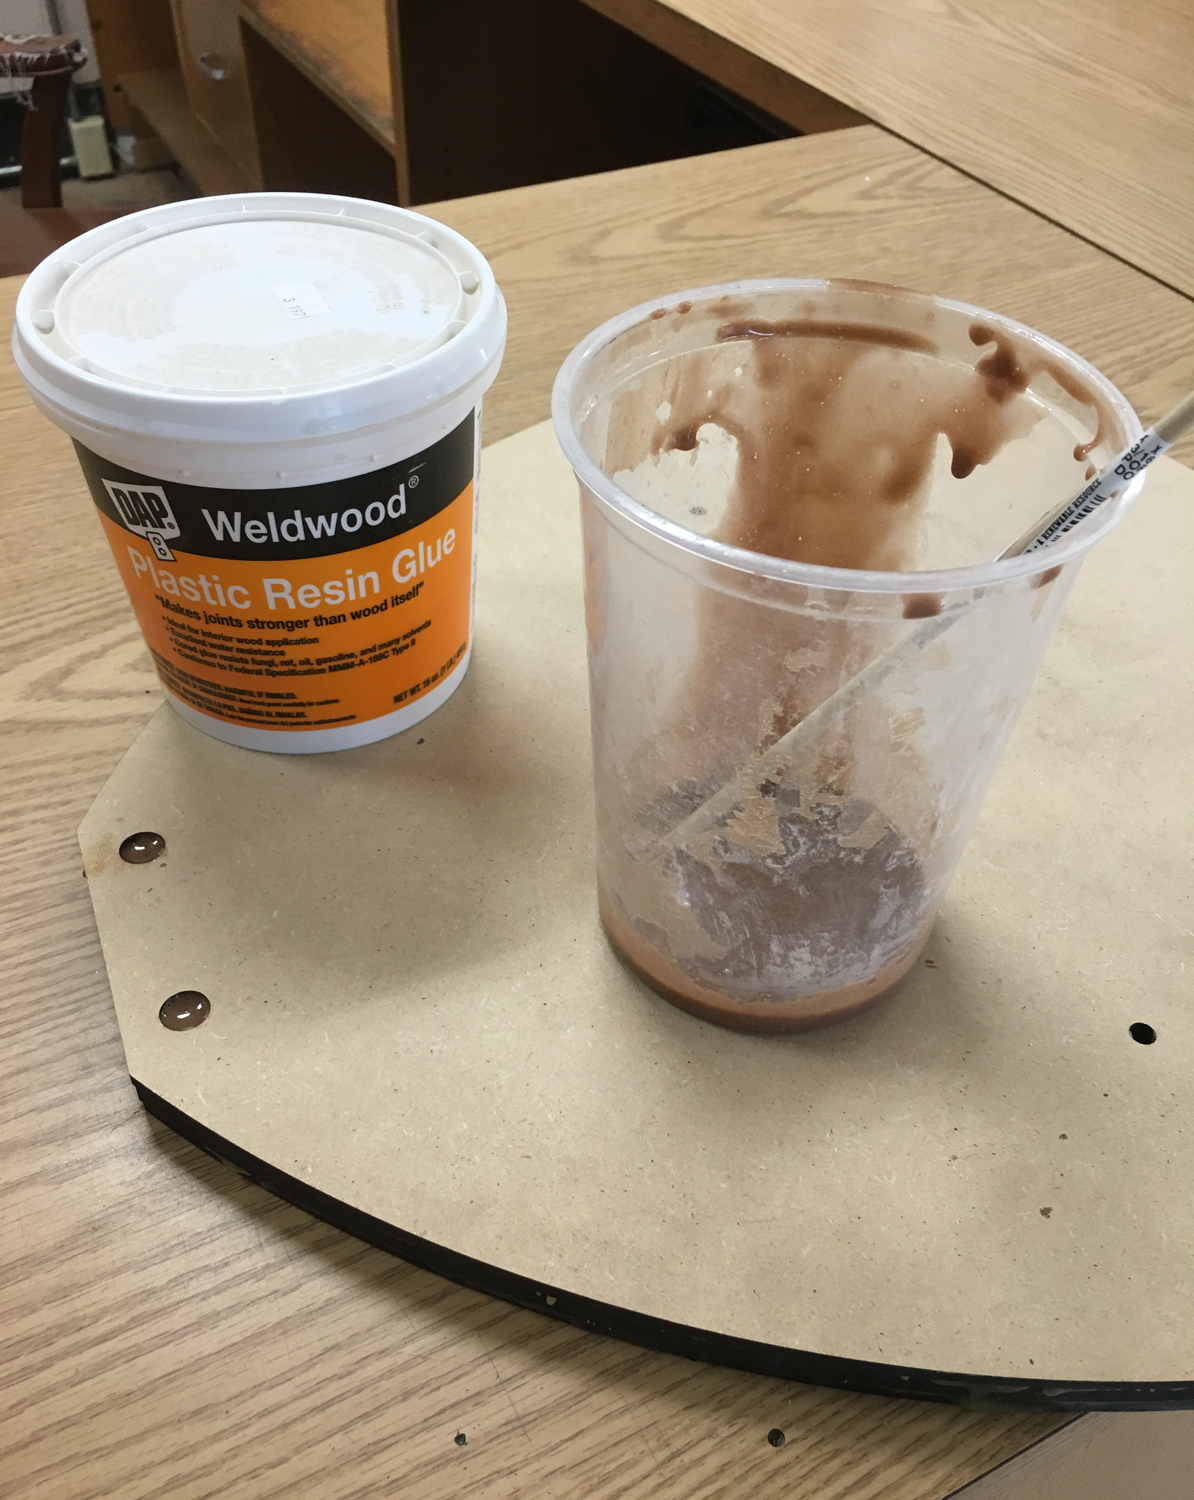
I am in the process of assembling the skeleton of the machine. There were several modifications that I made to the base. First, the plys that make up this piece slid slightly during the glue-up. The result is that the holes which pass from one ply to the next were slightly misaligned. My solution to fix this problem was to partially fill these holes with a DAP product called Plastic Resin Glue, and then redrill them with the drill press. I use this DAP adhesive for certain woodworking applications. One of it's advantages are that it not only adheres parts together, but it also fills in gaps, unlike typical yellow wood glue which requires continuous surface to surface contact. The Plastic Resin Glue is a powder that you hydrate with water. 

By not filling the holes completely I maintained the location of the holes when I redrilled them using the drill press. For bit selection, I used a forestner bit so that the holes have flat bottoms. Another notable bit of information is that I used the depth stop on the drill press so that all of the holes terminate at the same location. This is key because these holes hold the vertical steel bearing rods in place. 

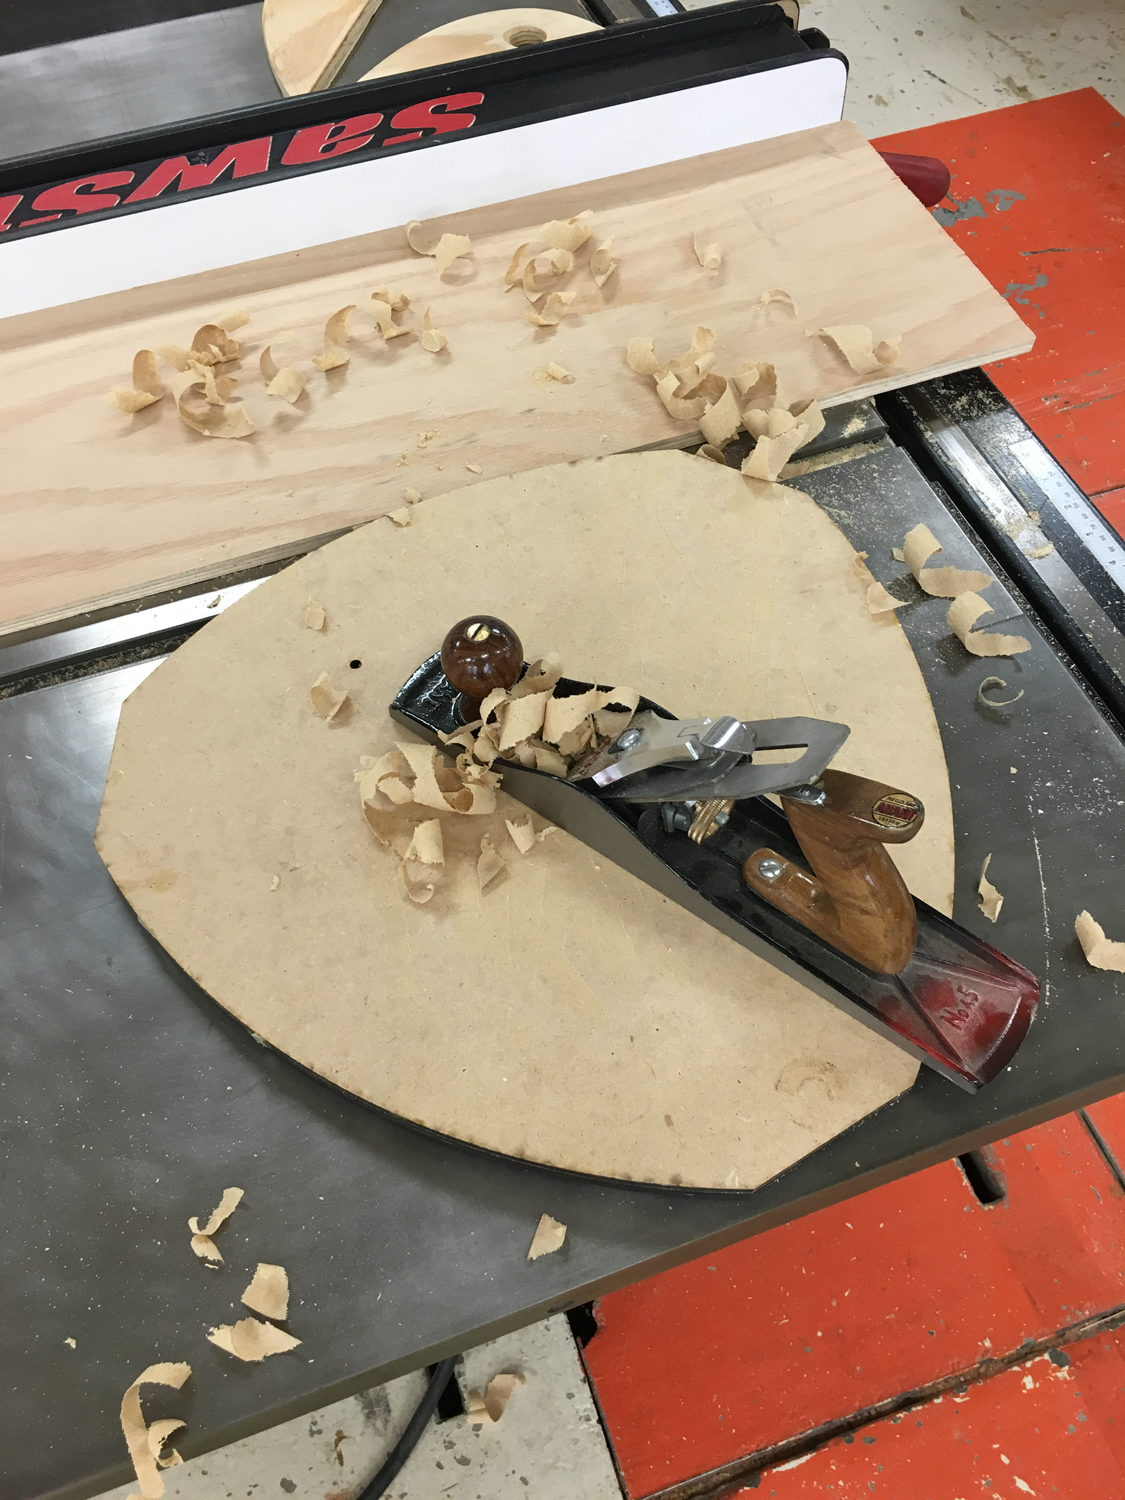
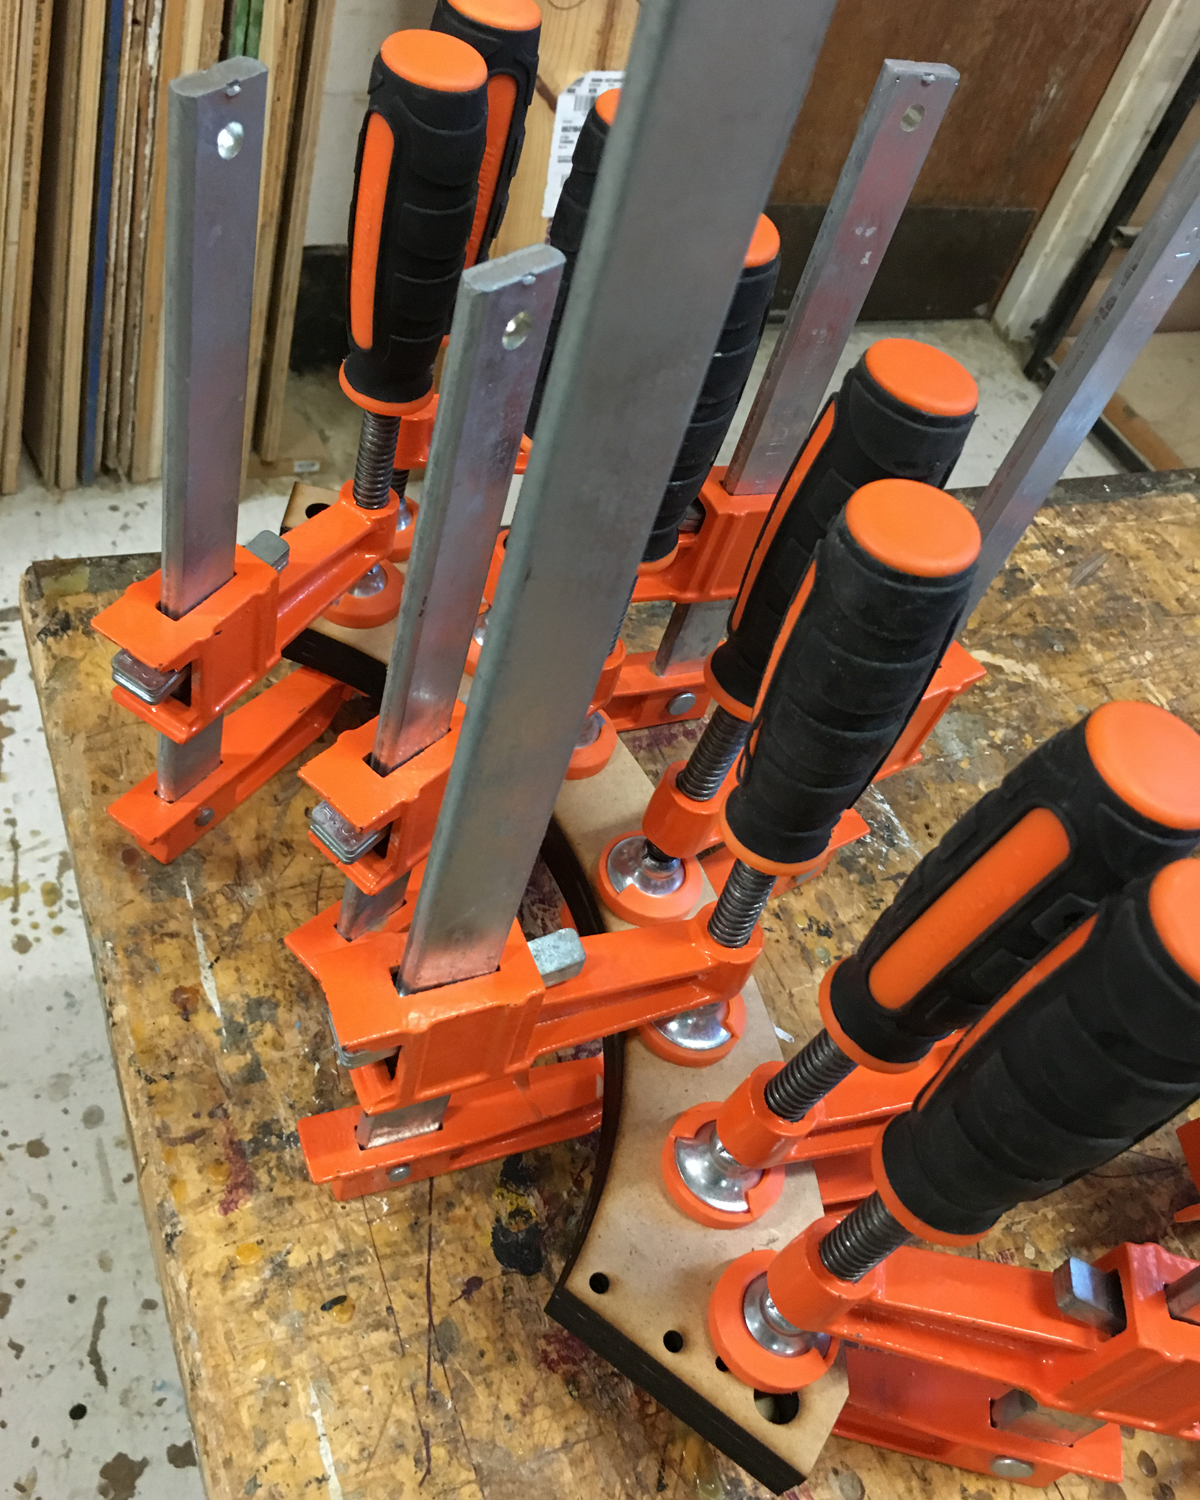
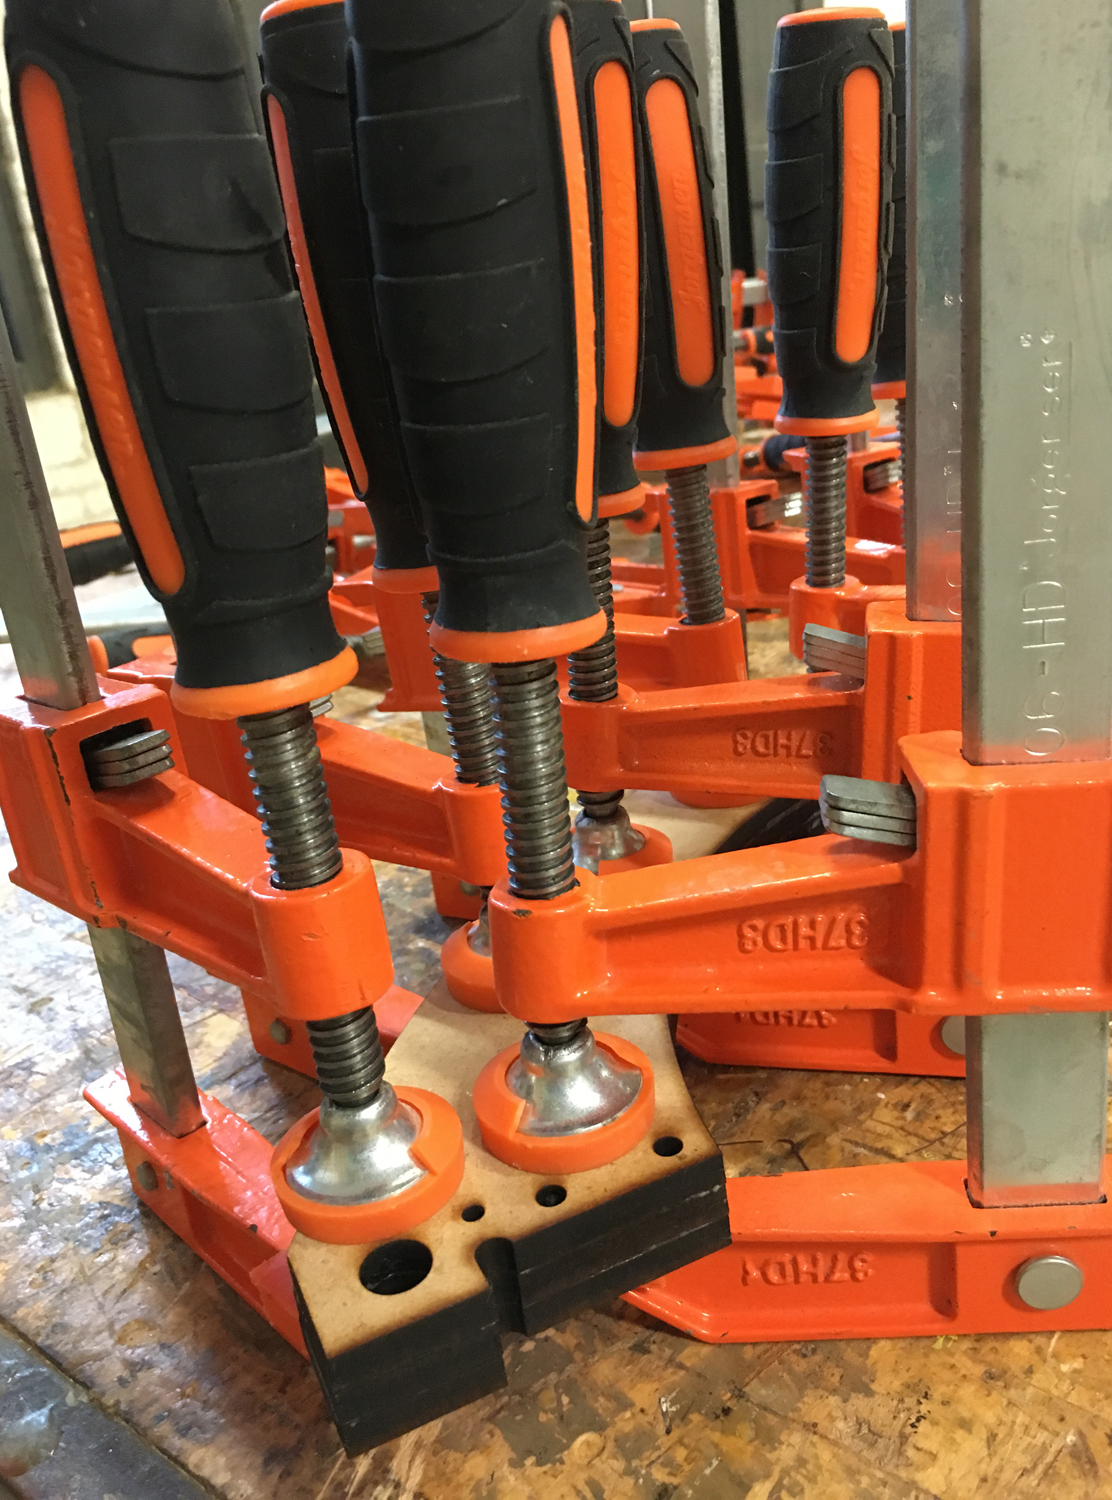
The next hurdle to overcome was that the weight of the clamps caused the base to cup during the glueup. In order to flatten the base I used a hand plane on the bottom and then the drum sander to make the top and bottom flat and parallel. 

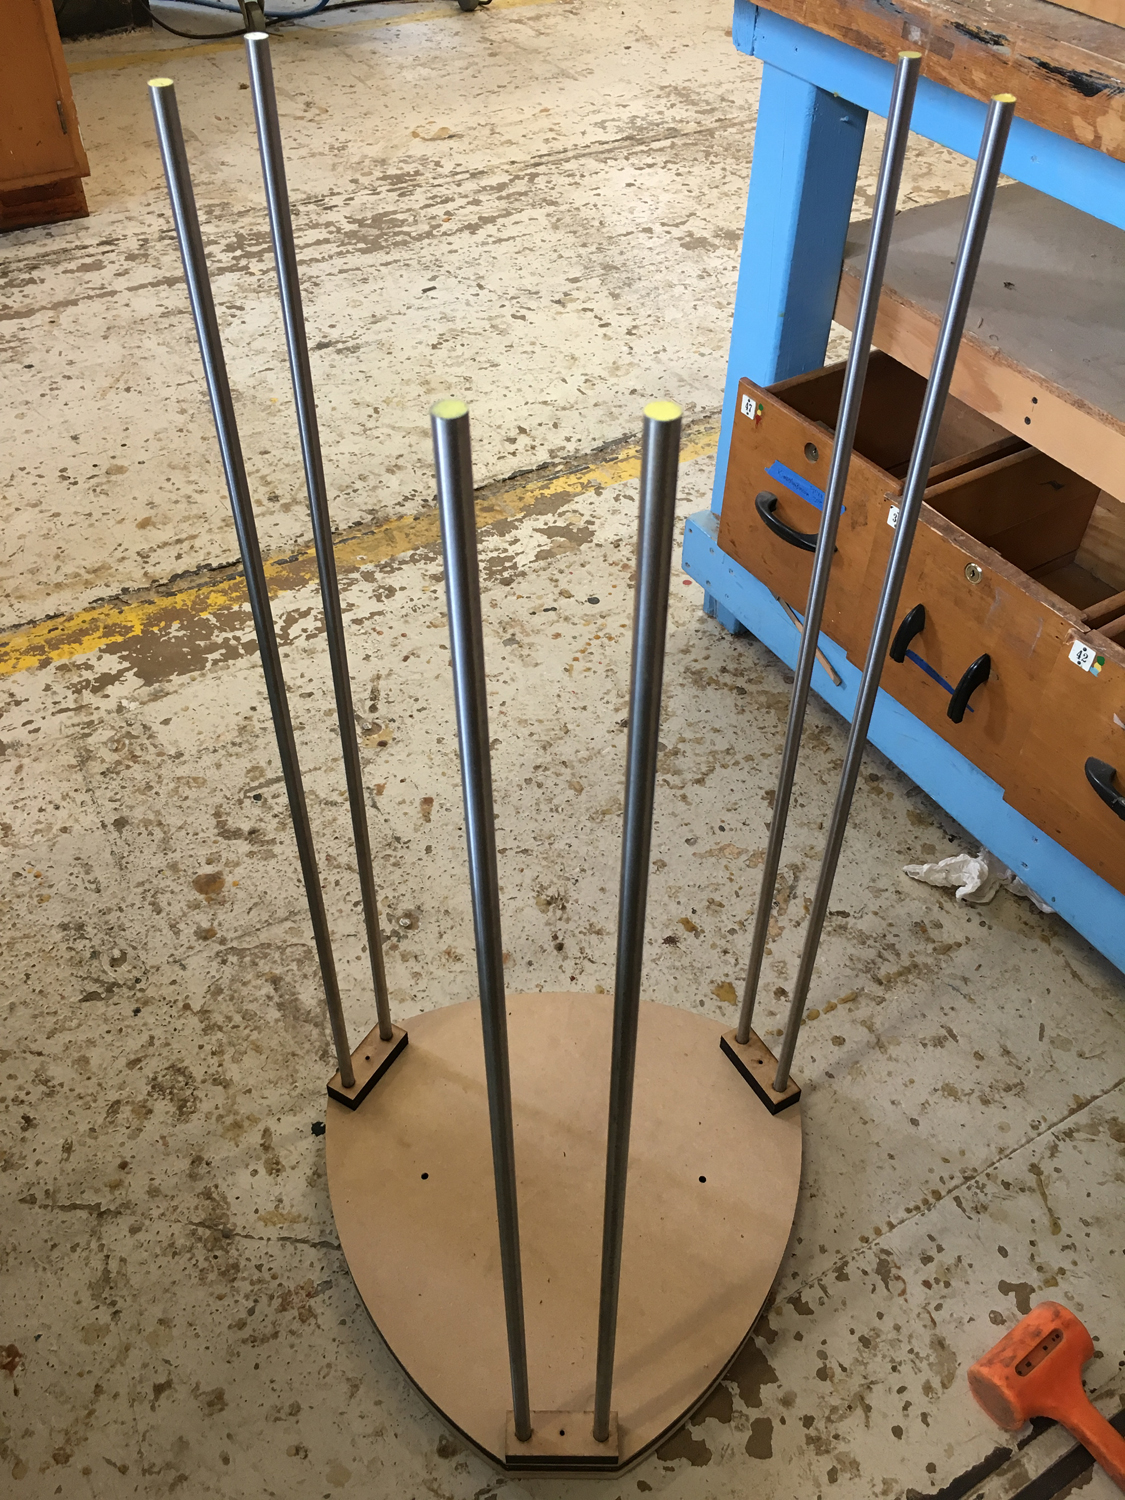
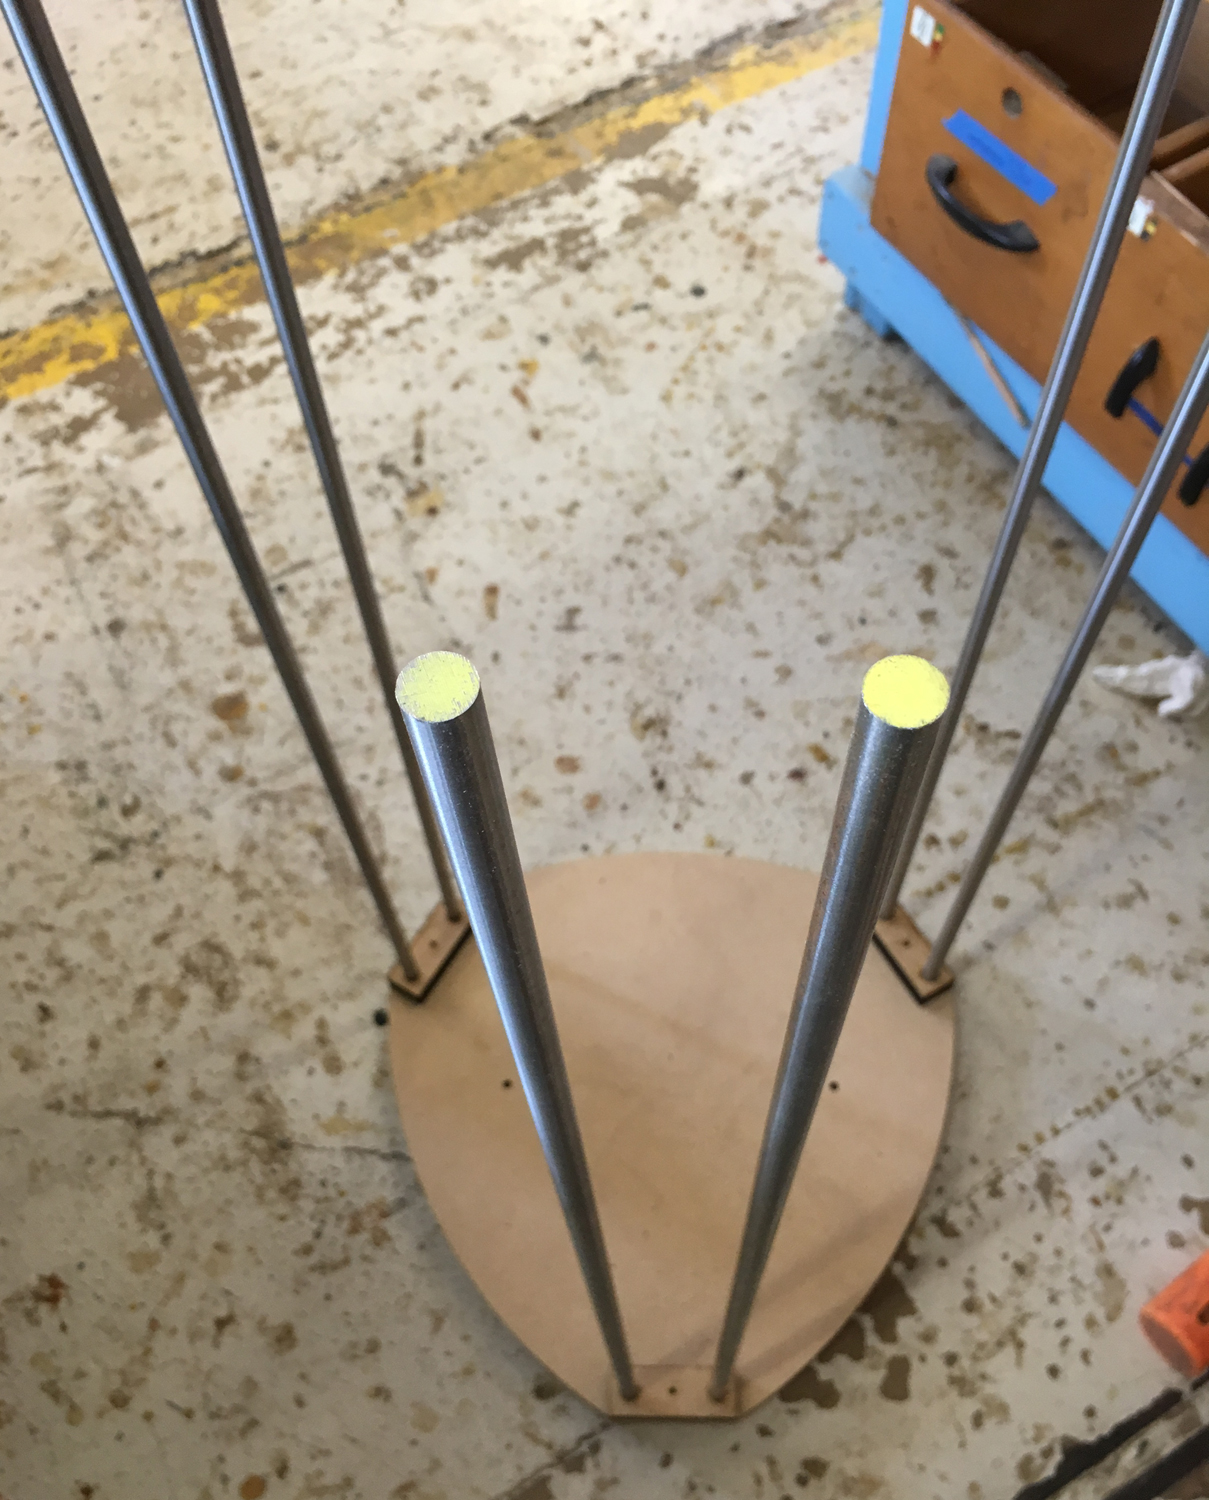
In hindsight, it would have been easier to use the laser cutter to etch the outline and hole location of these parts in 3/4" MDF, drill the holes using an accurate drill press and then cut them out using a band saw. This would allow me to skip glue ups all together. I think that the parts I have made so far will work just fine, but the method I just described would be faster and probably just as accurate. Hindsight is 20/20. Below are several pictures of the frame structure so far. The next step is to assemble the bottom belt pulley and attach the top of the frame. 
Glue ups

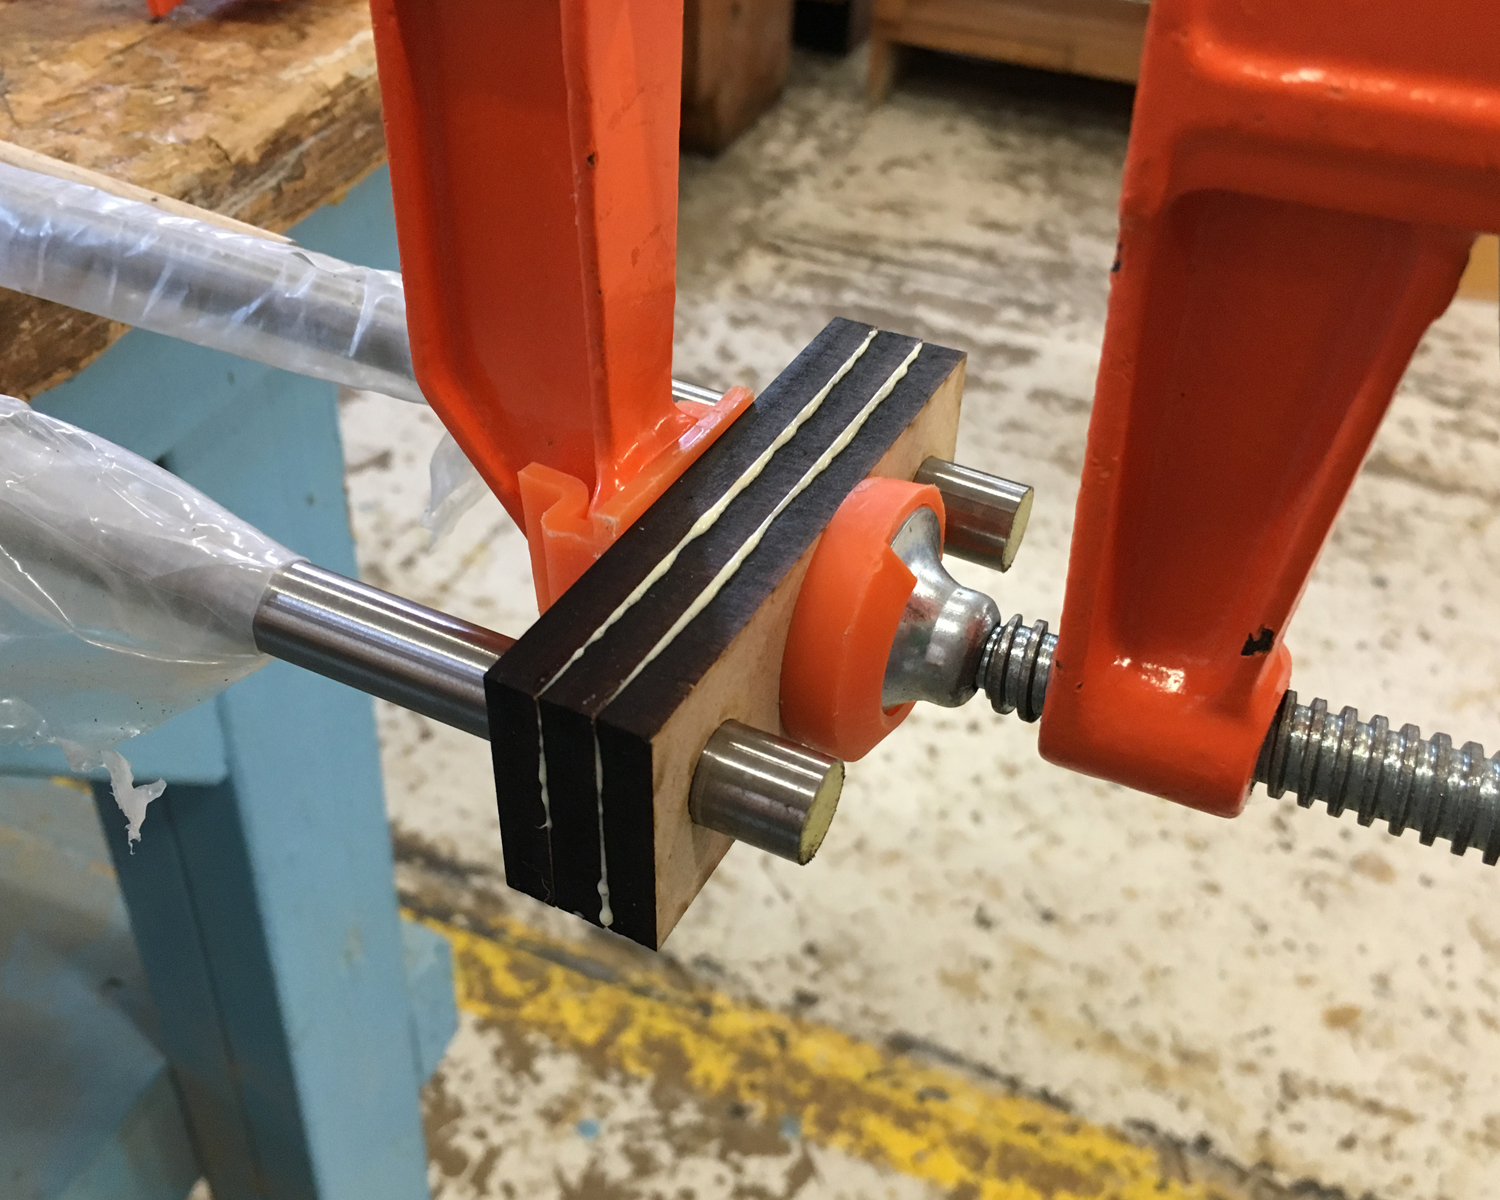
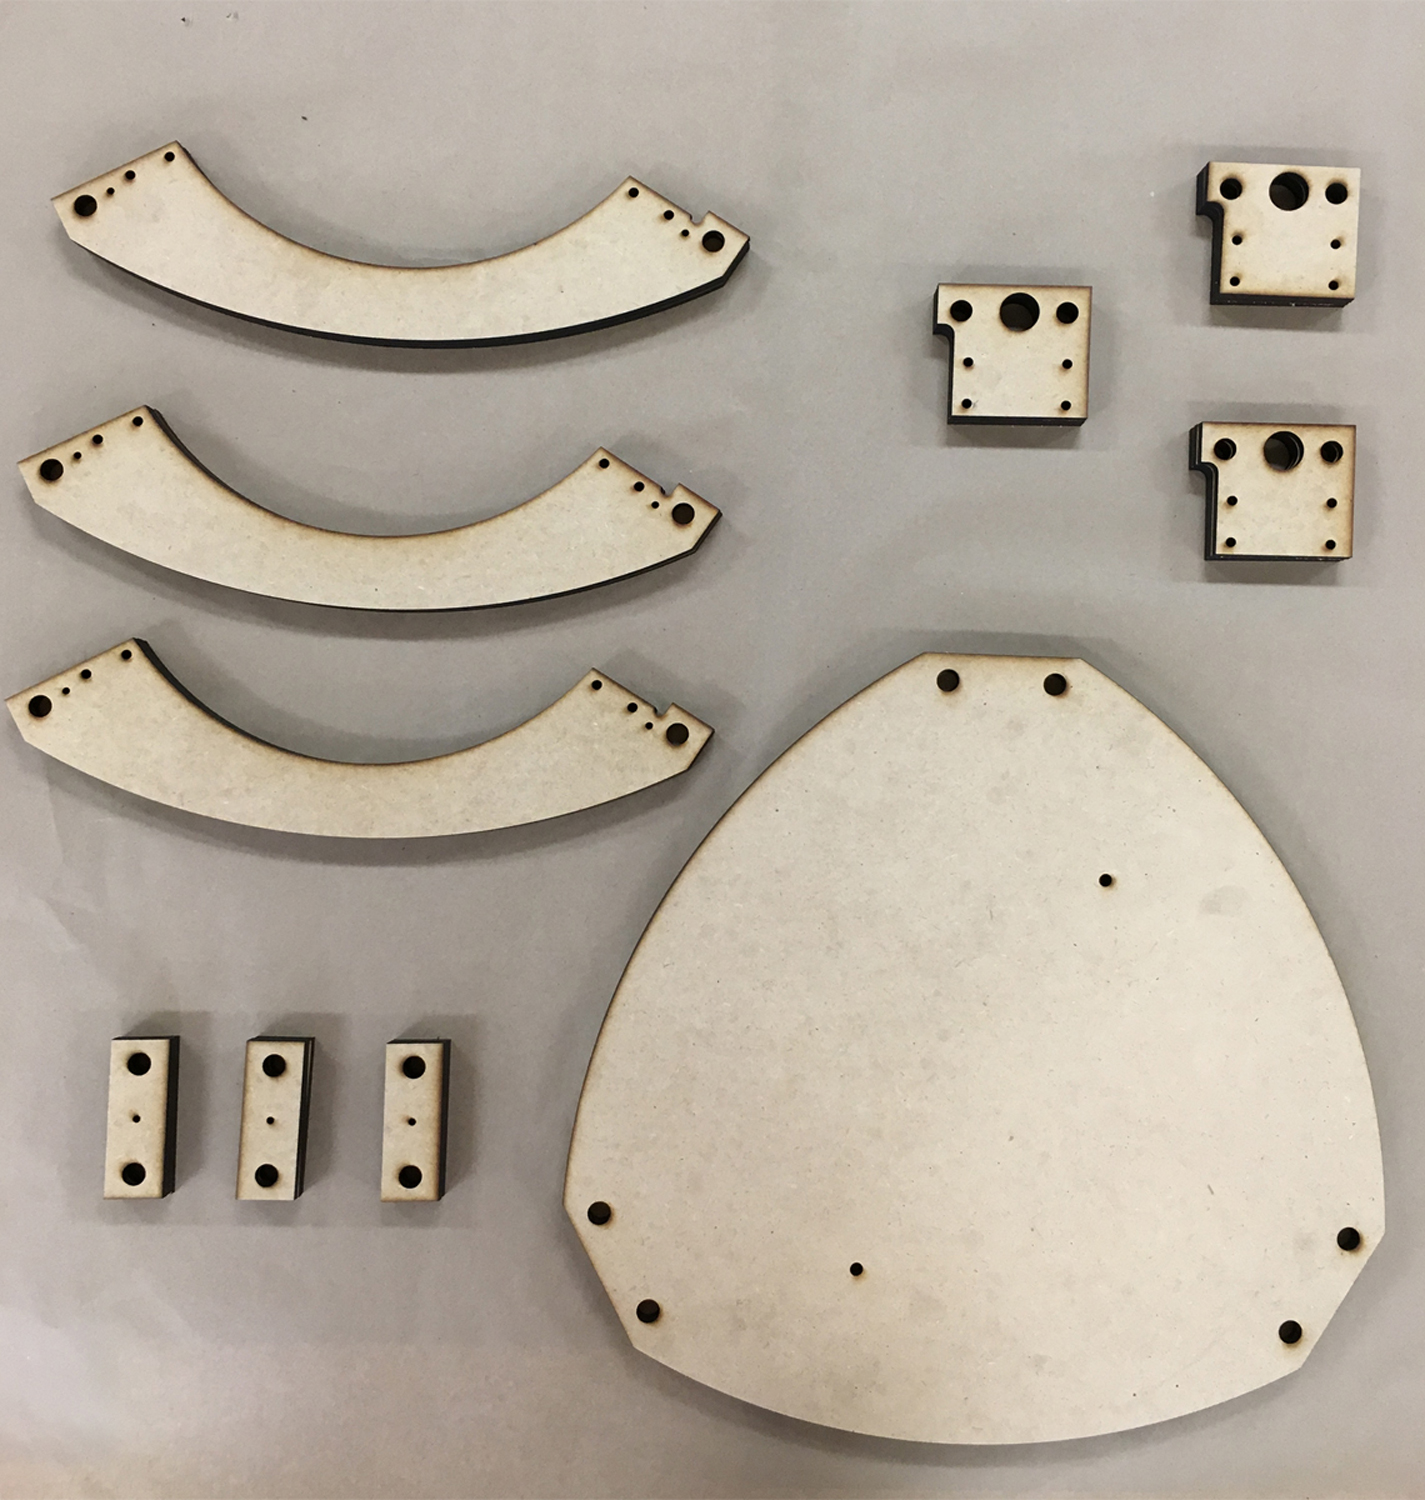
Today I am gluing the 1/4" MDF parts together - 3 plys to achieve 3/4" thickness. Four of the parts in this design need to be constructed in this way and they make up most of the structural skeleton of the machine. They are, the base, the upper arms (3), the bearing rod supports (3), and the motor mounts (3). The timing of this task worked out today because several of the FDM parts require multiples which I am still printing. 

Pile of Parts

This is one of my most exciting Summer research projects - I am building a Delta style 3D printer which I will outfit to extrude ceramic paste. The LSU School of Art has supplied funding for this endeavor with the agreement that they get to keep the printer when I am finished. The knowledge I will gain in building this machine, however, will be invaluable (plus, I get to use the printer as much as I want). 

The printer I am making has already been designed and built in a number of iterations, and by more than one person. These are just a few of the individuals whose work I will openly reference throughout this project: Jonathan Keep, Unfold Studio and Bryan Czibesz. There is also a Google Plus page that hosts a knowledgeable and friendly community of artists/designers pursuing research in ceramic 3D printers. 

Posts you find on this page will document my efforts to make this pile of parts into a working, paste extrusion 3D printer. I have two goals: to make this printer a reality for LSU students to utilize, and to build upon the research of those I am relying on throughout this endeavor. Without further ado. 

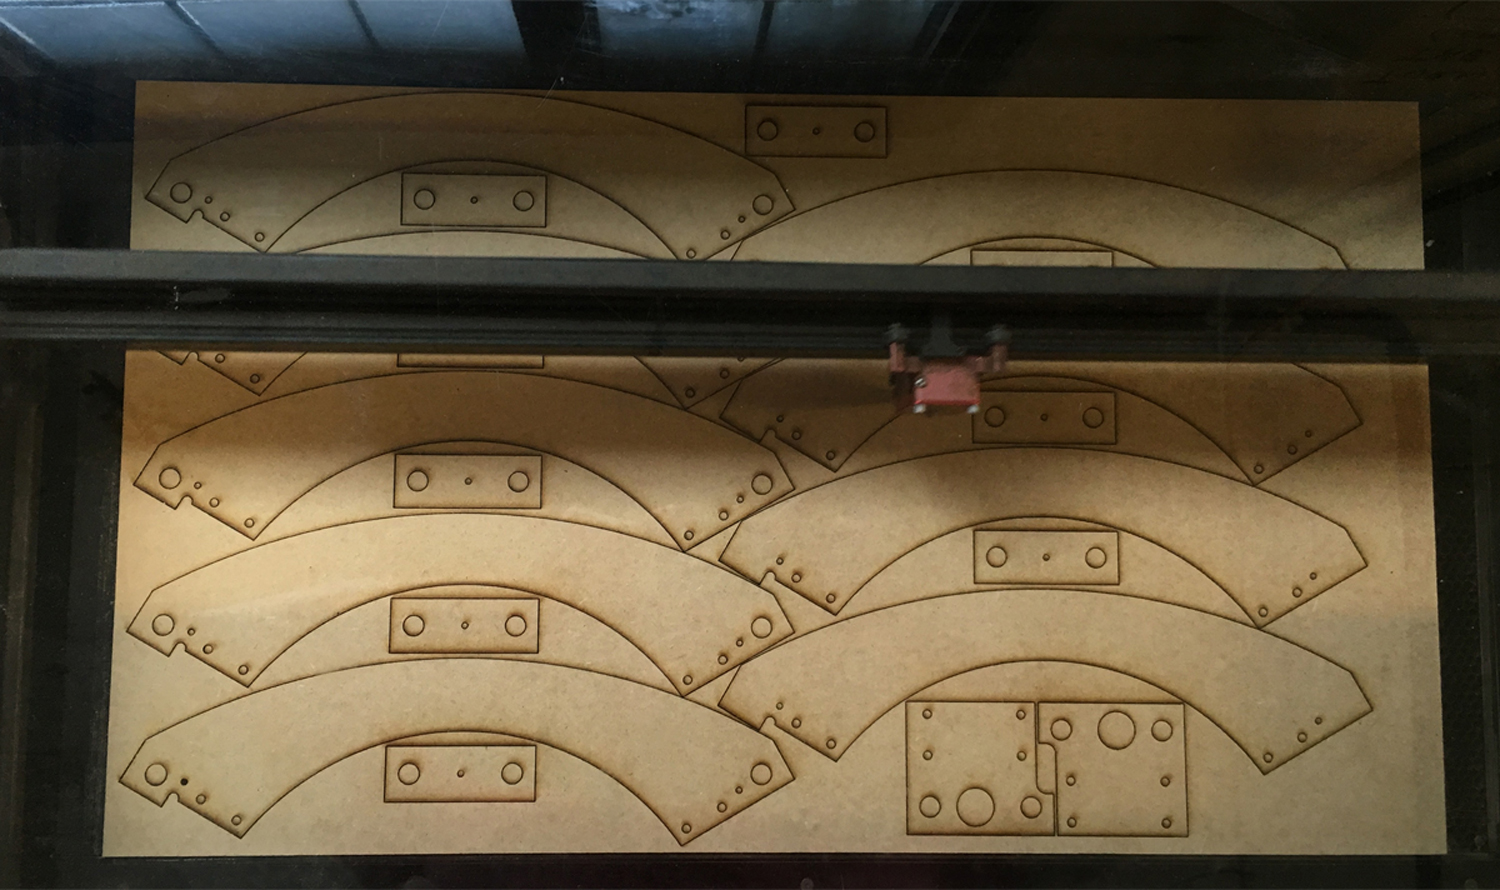
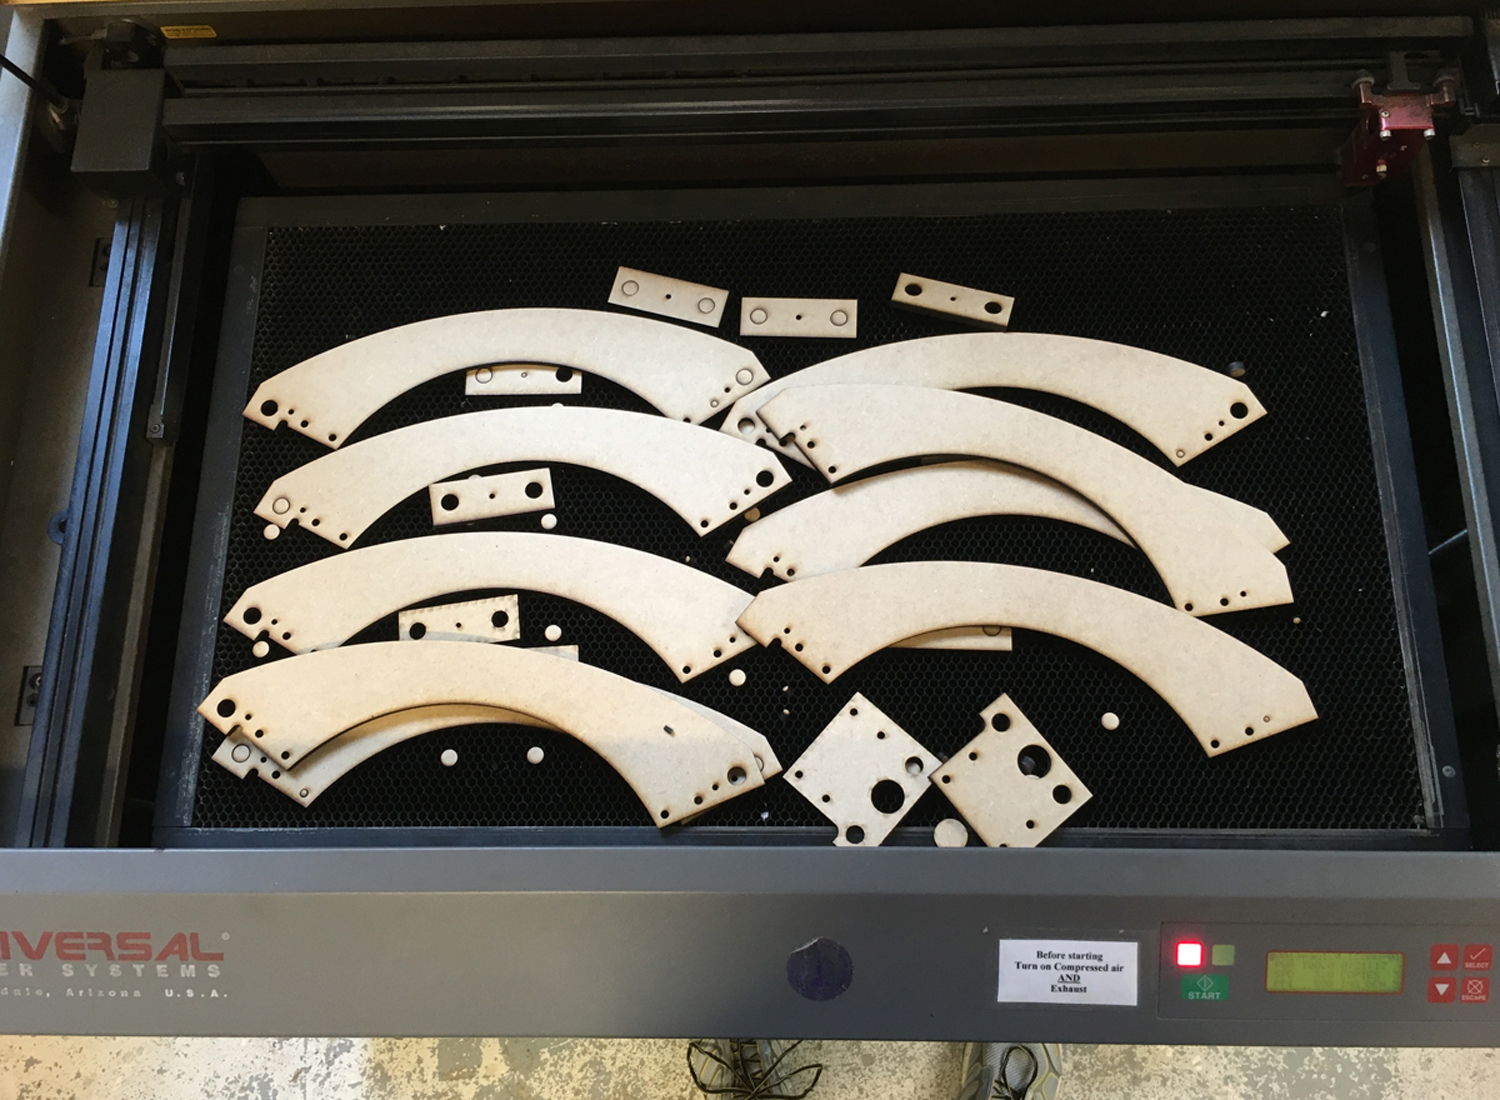
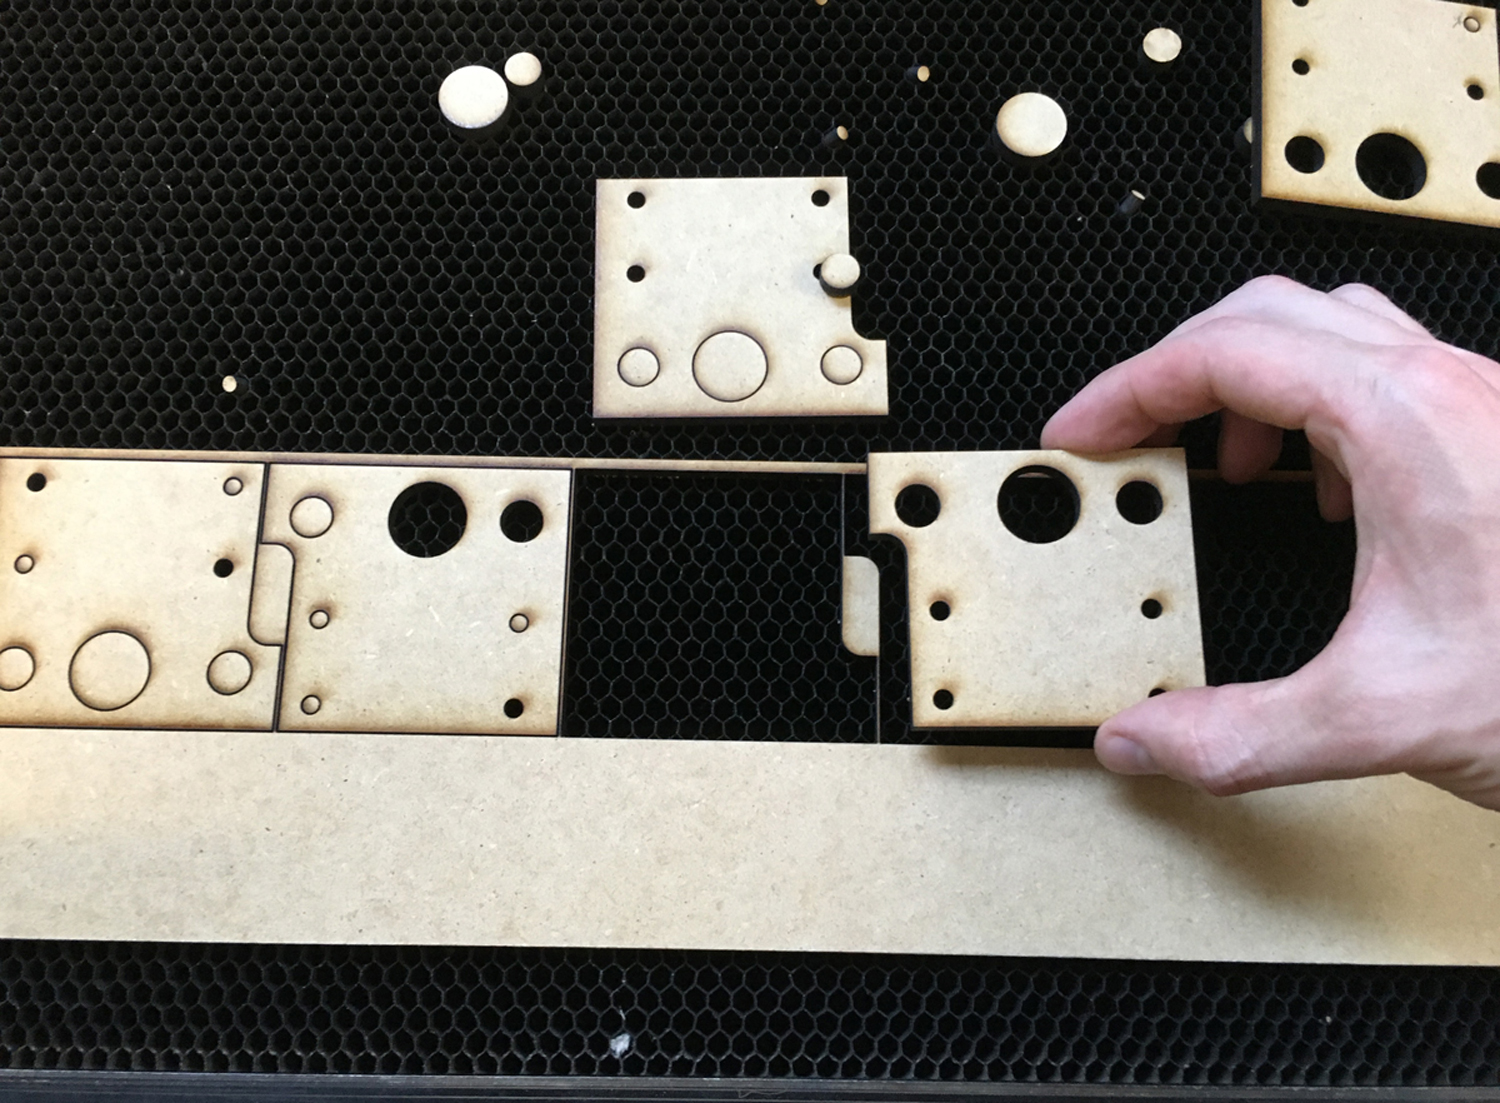
The majority of the parts for this printer are pre-manufactured and available on either Ebay or Amazon. However, there are a hand full of components that must be either printed on a FDM printer, or cut out of MDF using either a CNC router or laser cutter. Our CNC router at LSU is currently out of commission with a replacement part on order, so, I decided to use our Universal Laser cutter to fabricate these components. At this point, there were two obstacles to address, first, these laser cutters can only make cuts to 1/4" depth, and second, the final parts need to be 3/4" thick. So, my solution is to cut three layers for each part and use dowels as alignment pins in the holes when I glue them together. Another concern is that two of these parts contain holes which do not pass completely through the part. In order to achieve these partial holes, I deleted them in the third ply so that they will only exist in two of the three plys. Fingers crossed, I think this is going to work. 

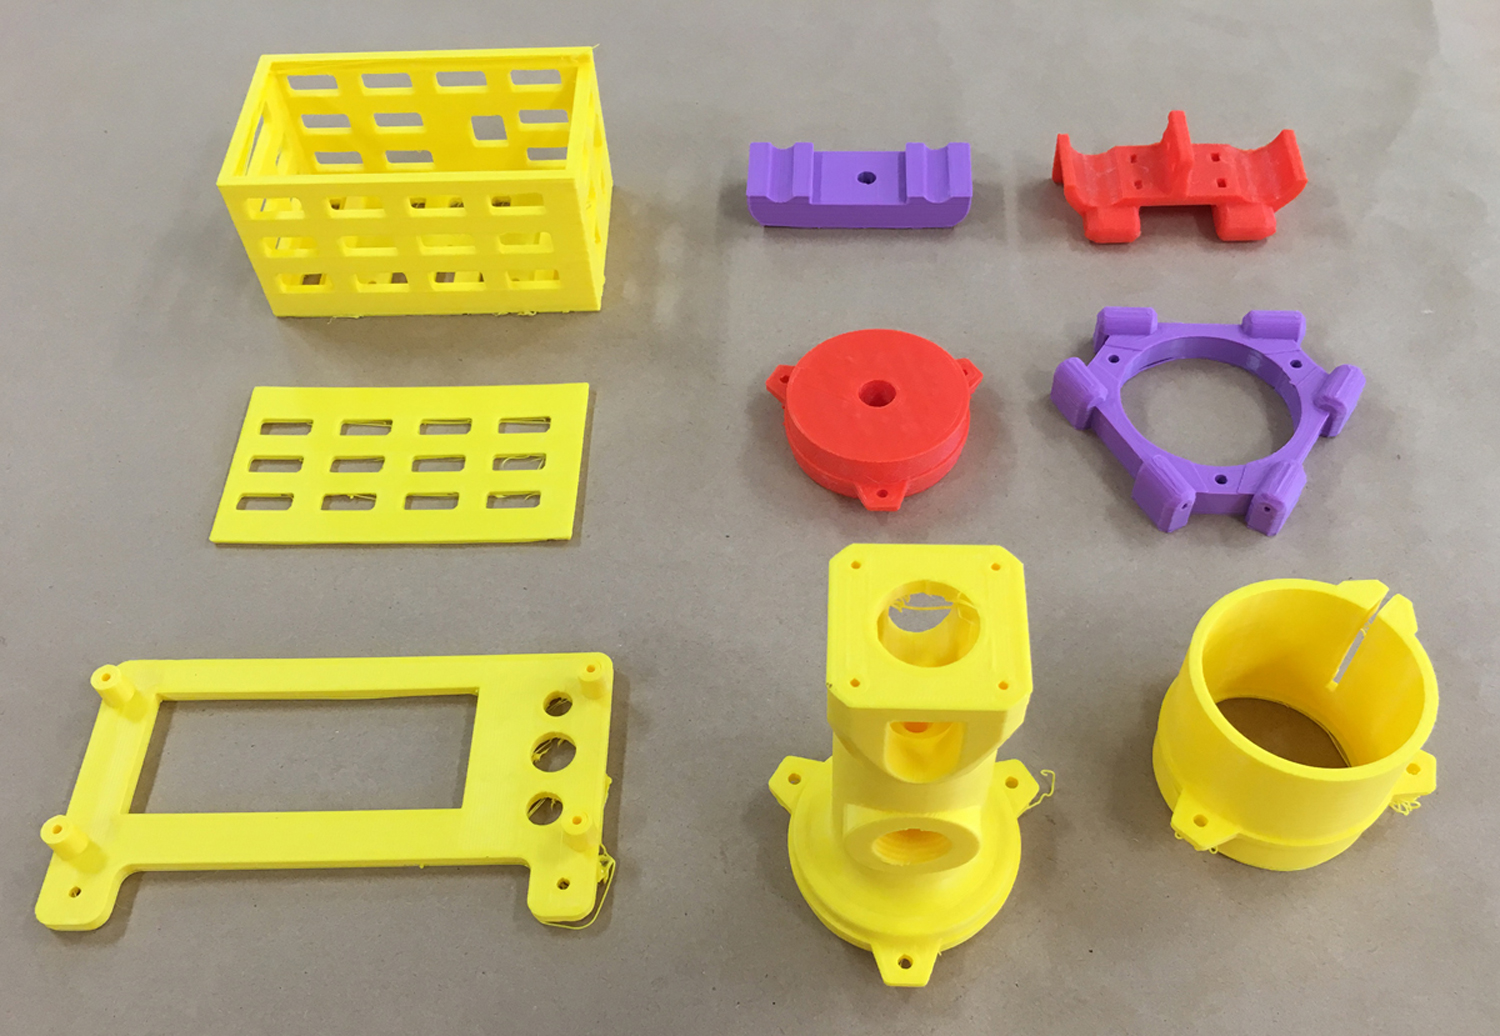
These components are printed in ABS plastic using a CubeX printer, which I have little experience using. I'm hoping these parts work but I fear the resolution may be too course for some of them to function properly. Either way, I like the colors...

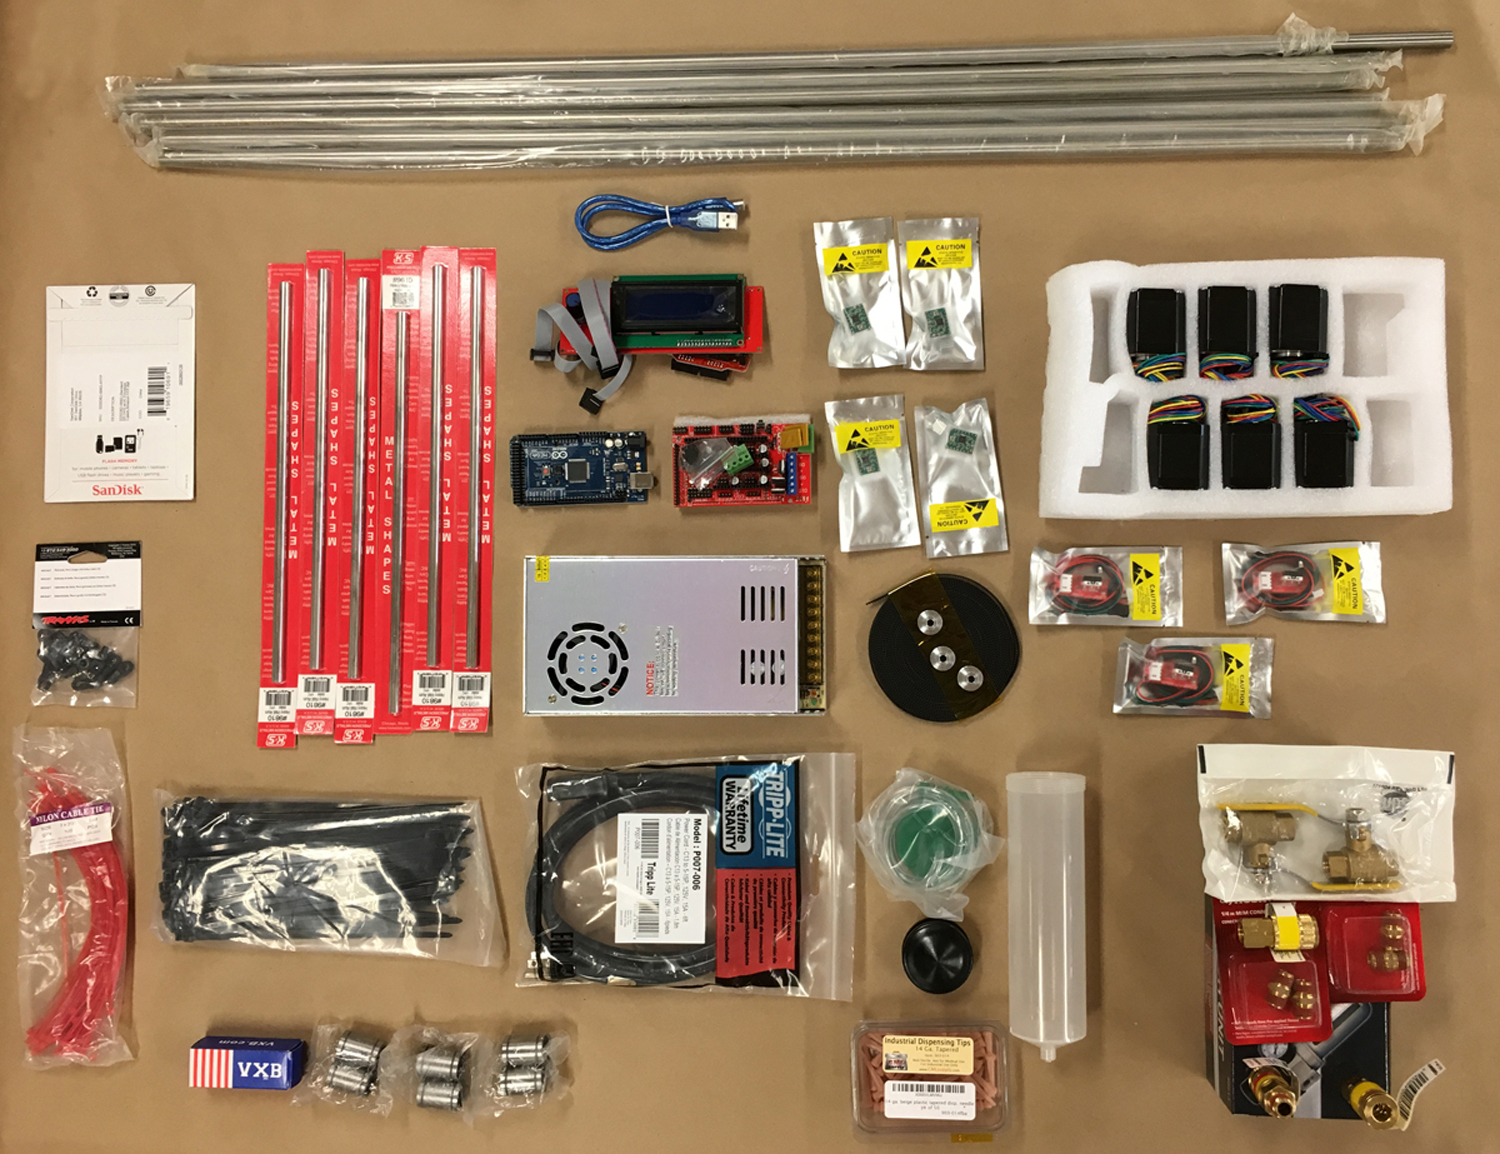
This images includes the remainder of the parts, minus a few pieces of hardware. You can see everything from zipties to mechanical drive parts to extrusion and pneumatic fittings. Tomorrow, I will glue the laser cut plys together and begin assembly. It's exciting to see everything on the same table!