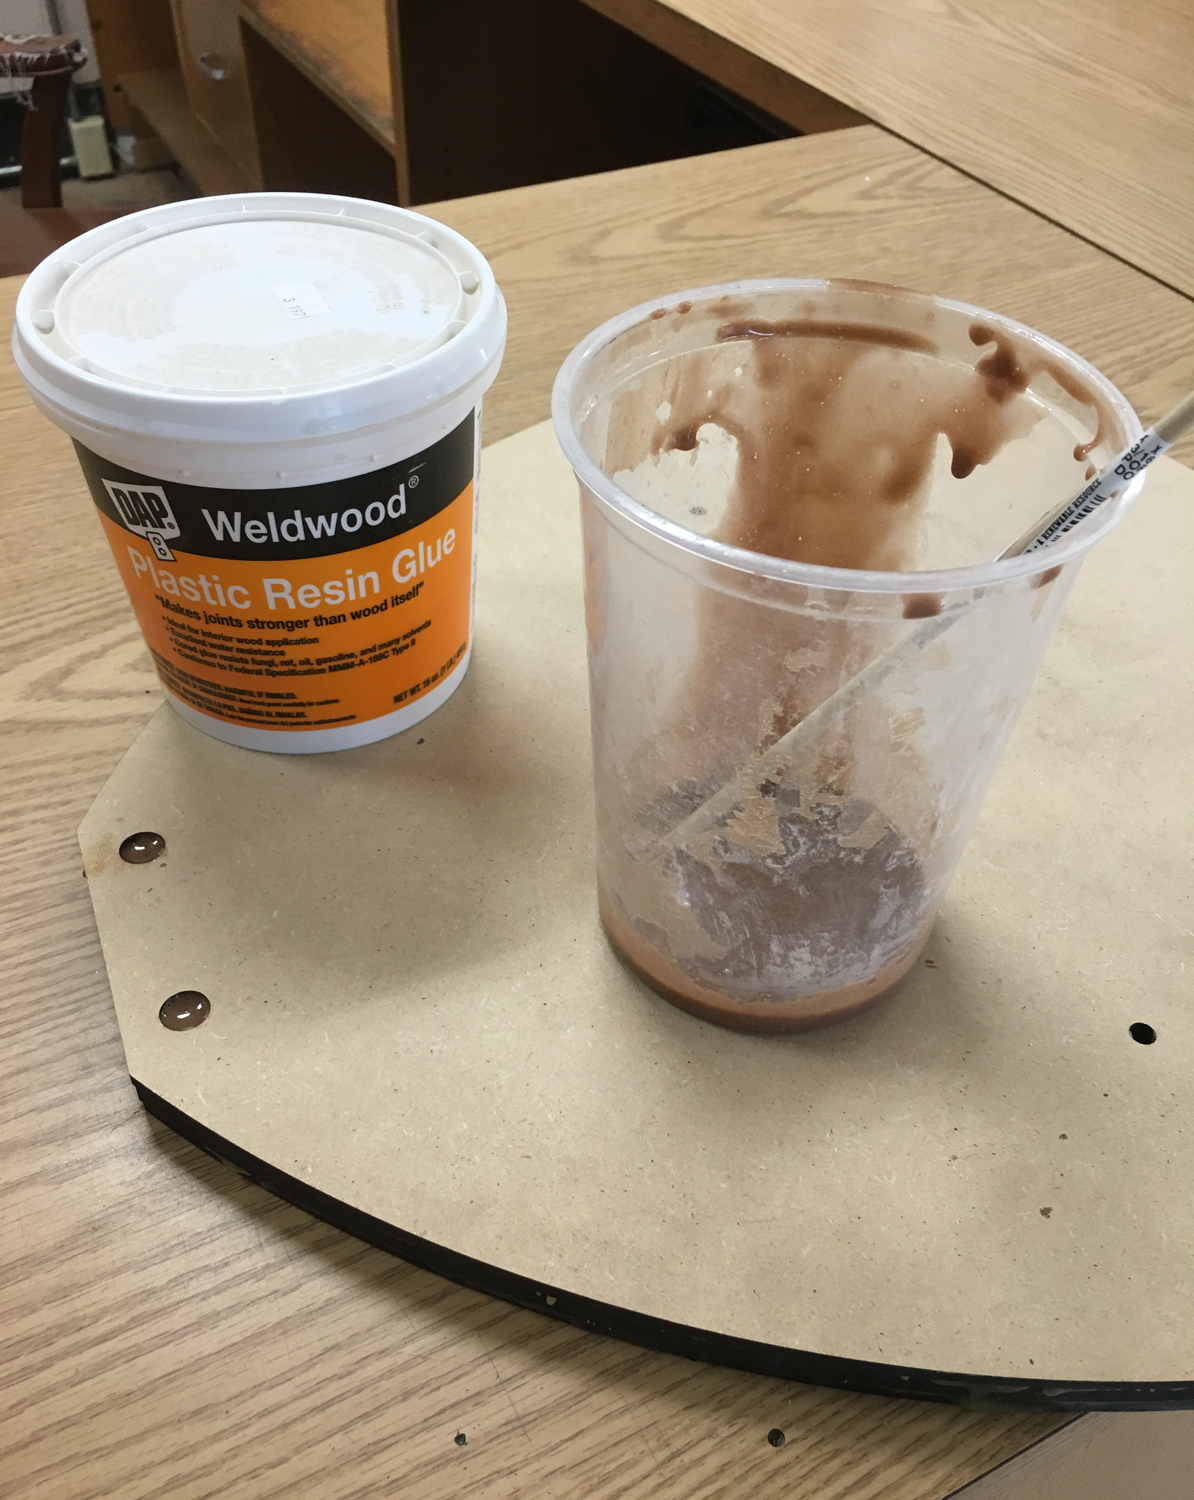
I am in the process of assembling the skeleton of the machine. There were several modifications that I made to the base. First, the plys that make up this piece slid slightly during the glue-up. The result is that the holes which pass from one ply to the next were slightly misaligned. My solution to fix this problem was to partially fill these holes with a DAP product called Plastic Resin Glue, and then redrill them with the drill press. I use this DAP adhesive for certain woodworking applications. One of it's advantages are that it not only adheres parts together, but it also fills in gaps, unlike typical yellow wood glue which requires continuous surface to surface contact. The Plastic Resin Glue is a powder that you hydrate with water.
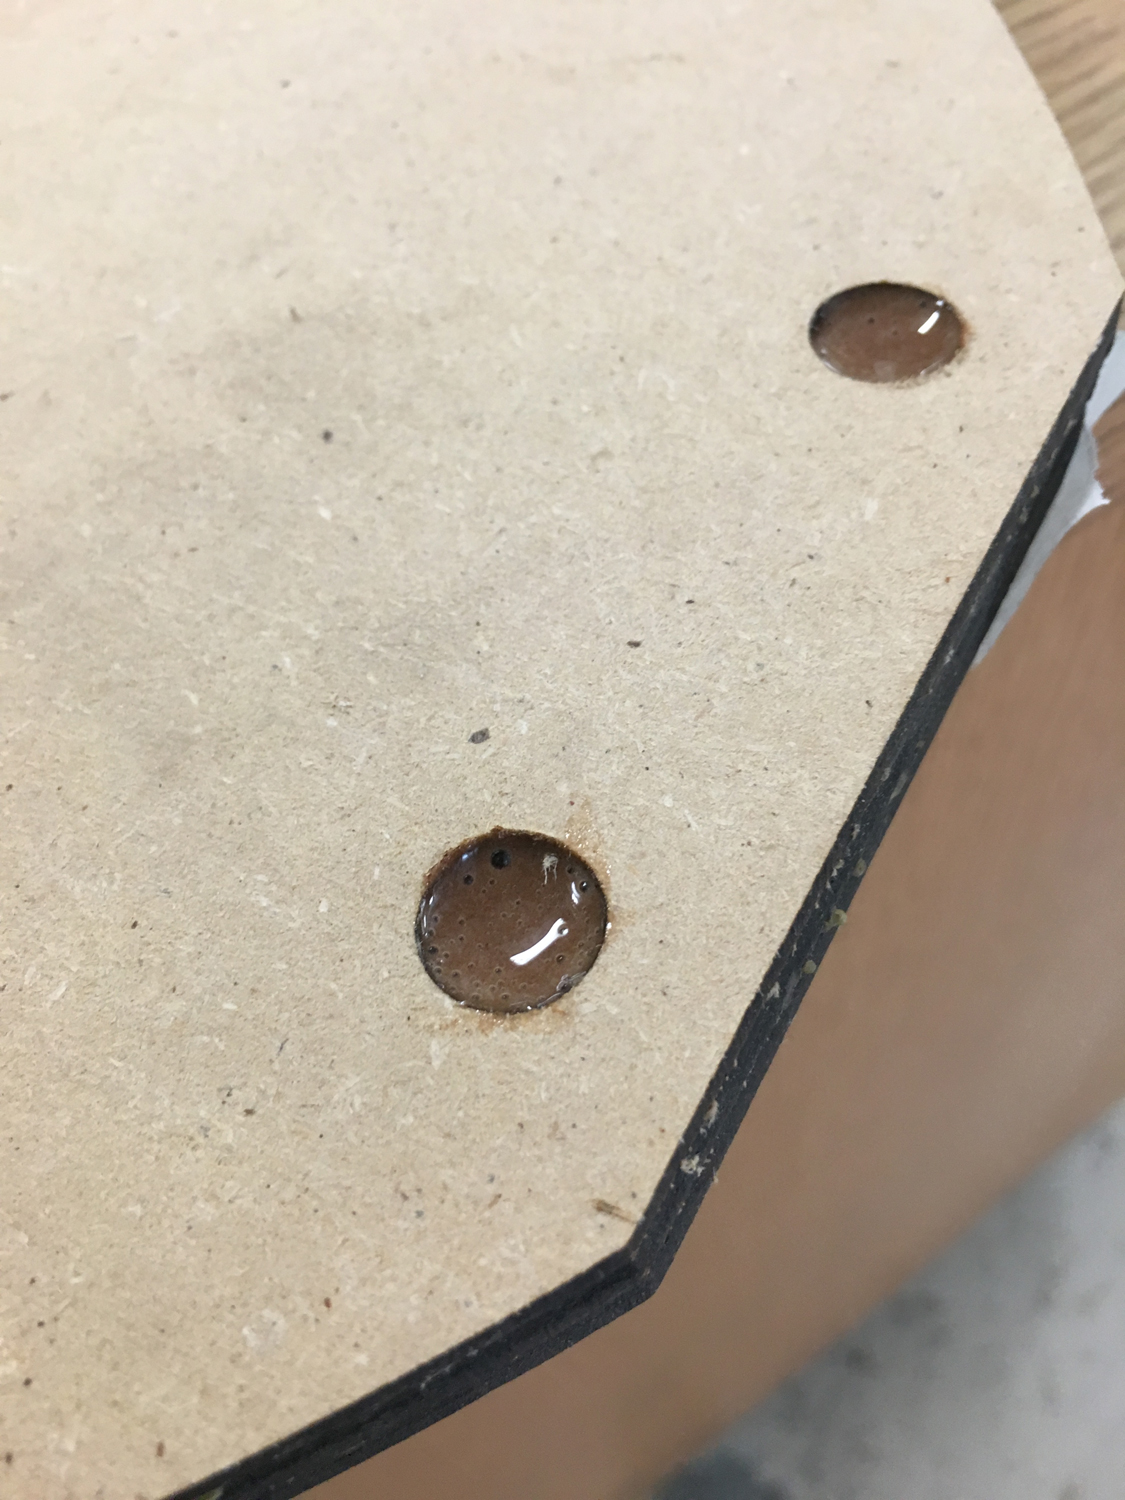
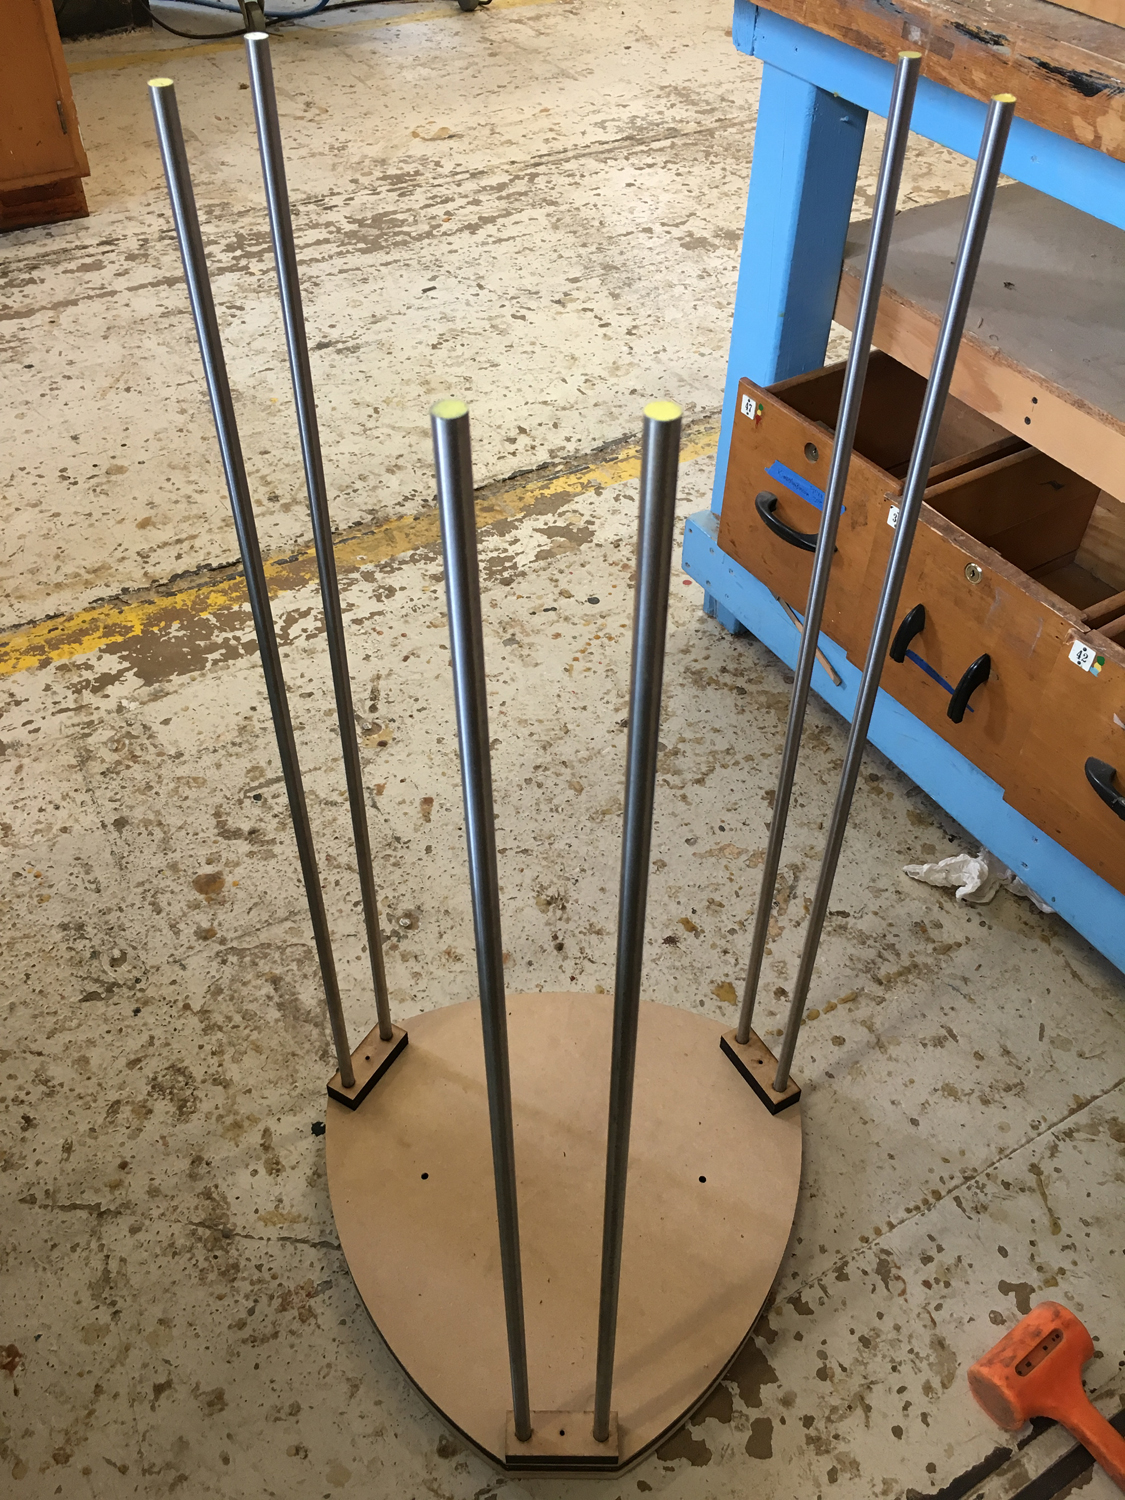
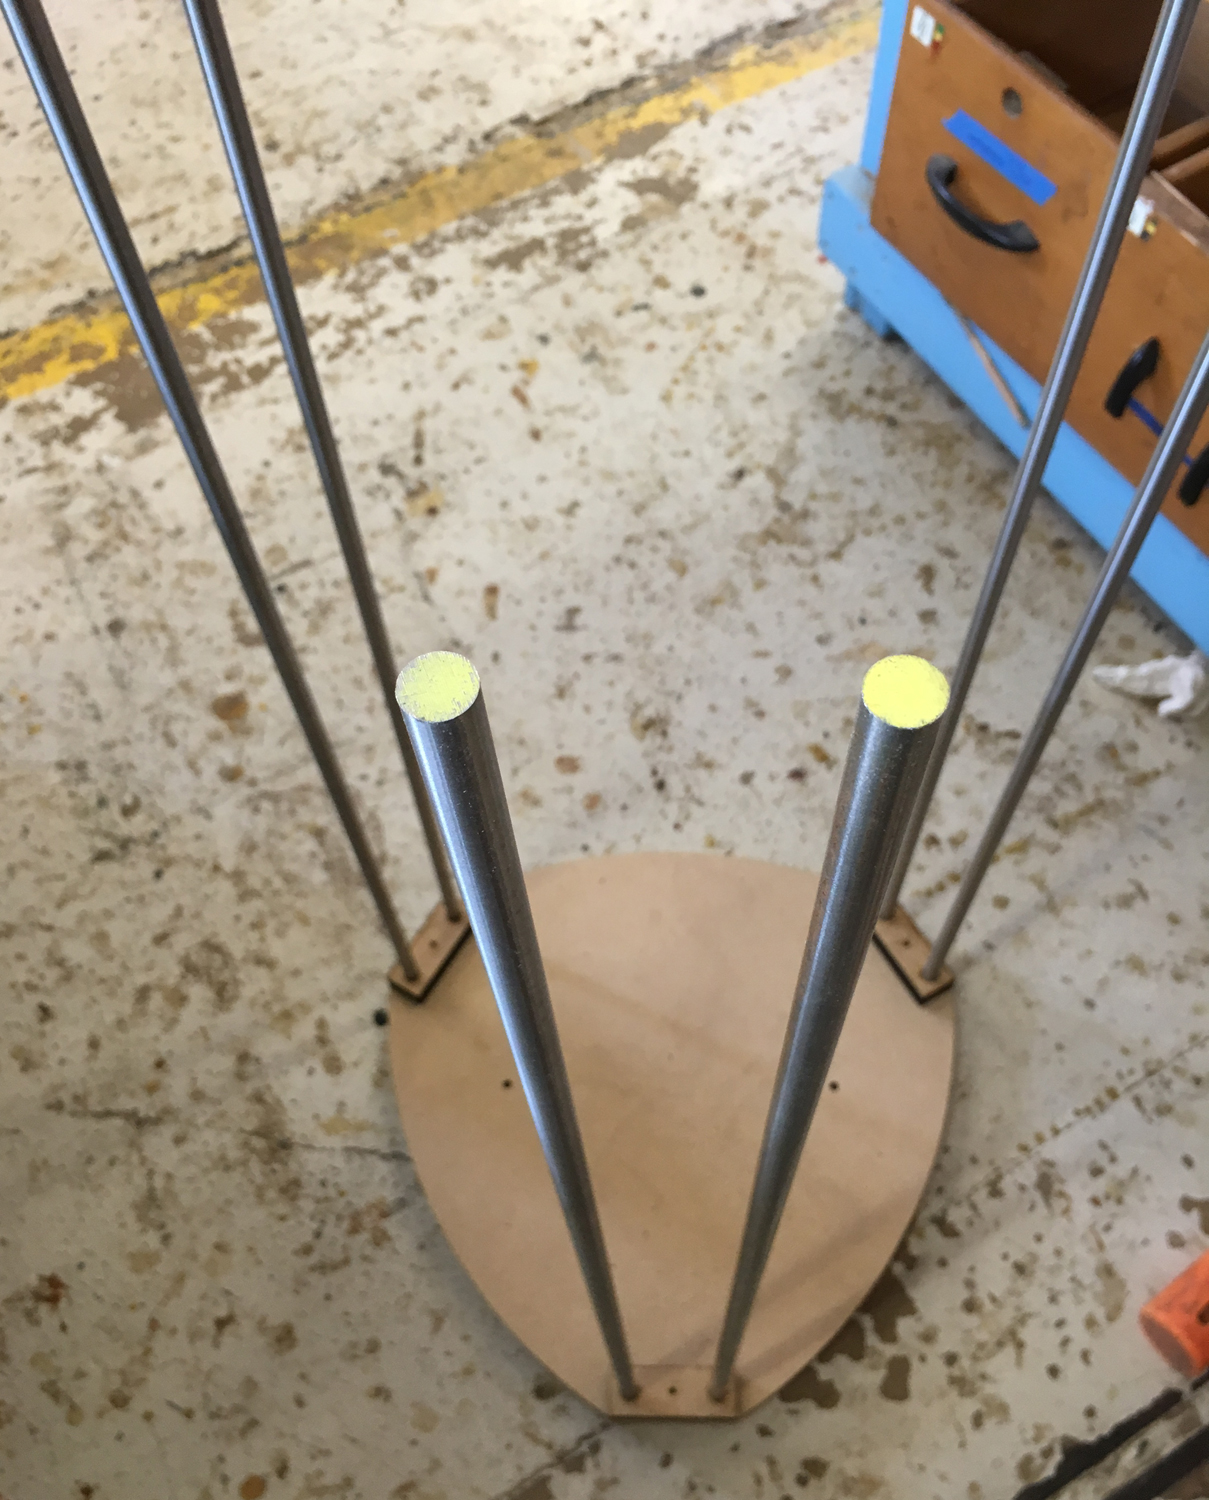
By not filling the holes completely I maintained the location of the holes when I redrilled them using the drill press. For bit selection, I used a forestner bit so that the holes have flat bottoms. Another notable bit of information is that I used the depth stop on the drill press so that all of the holes terminate at the same location. This is key because these holes hold the vertical steel bearing rods in place.
The next hurdle to overcome was that the weight of the clamps caused the base to cup during the glueup. In order to flatten the base I used a hand plane on the bottom and then the drum sander to make the top and bottom flat and parallel.
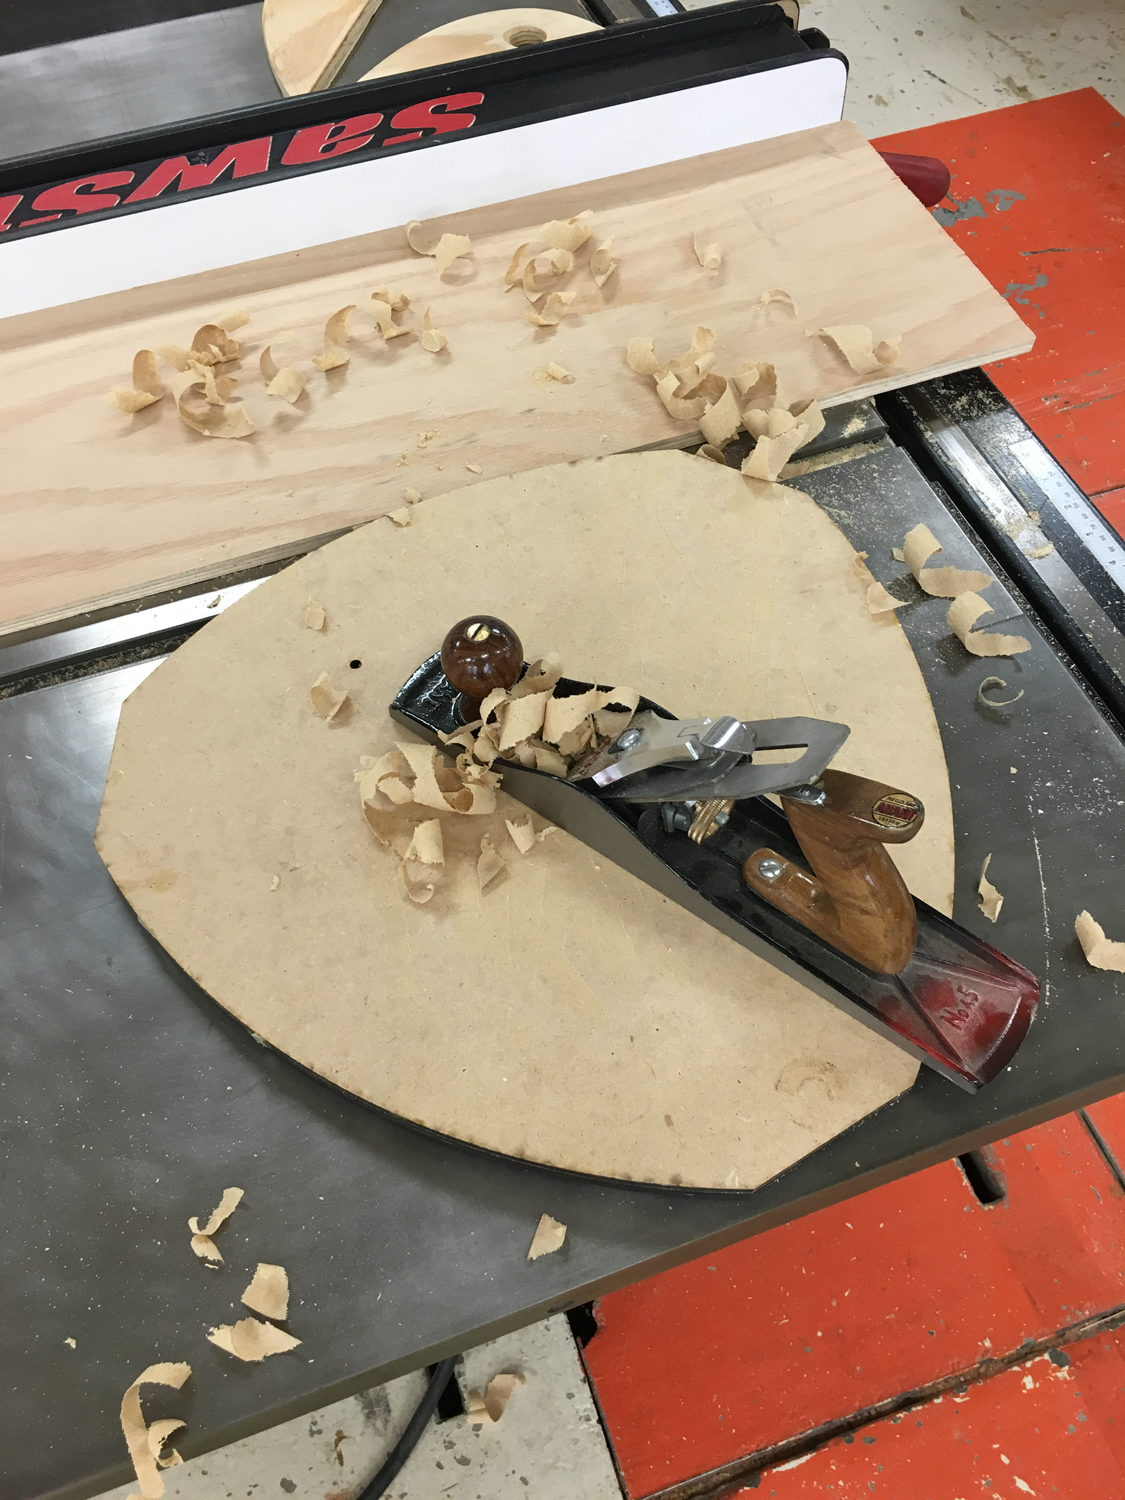
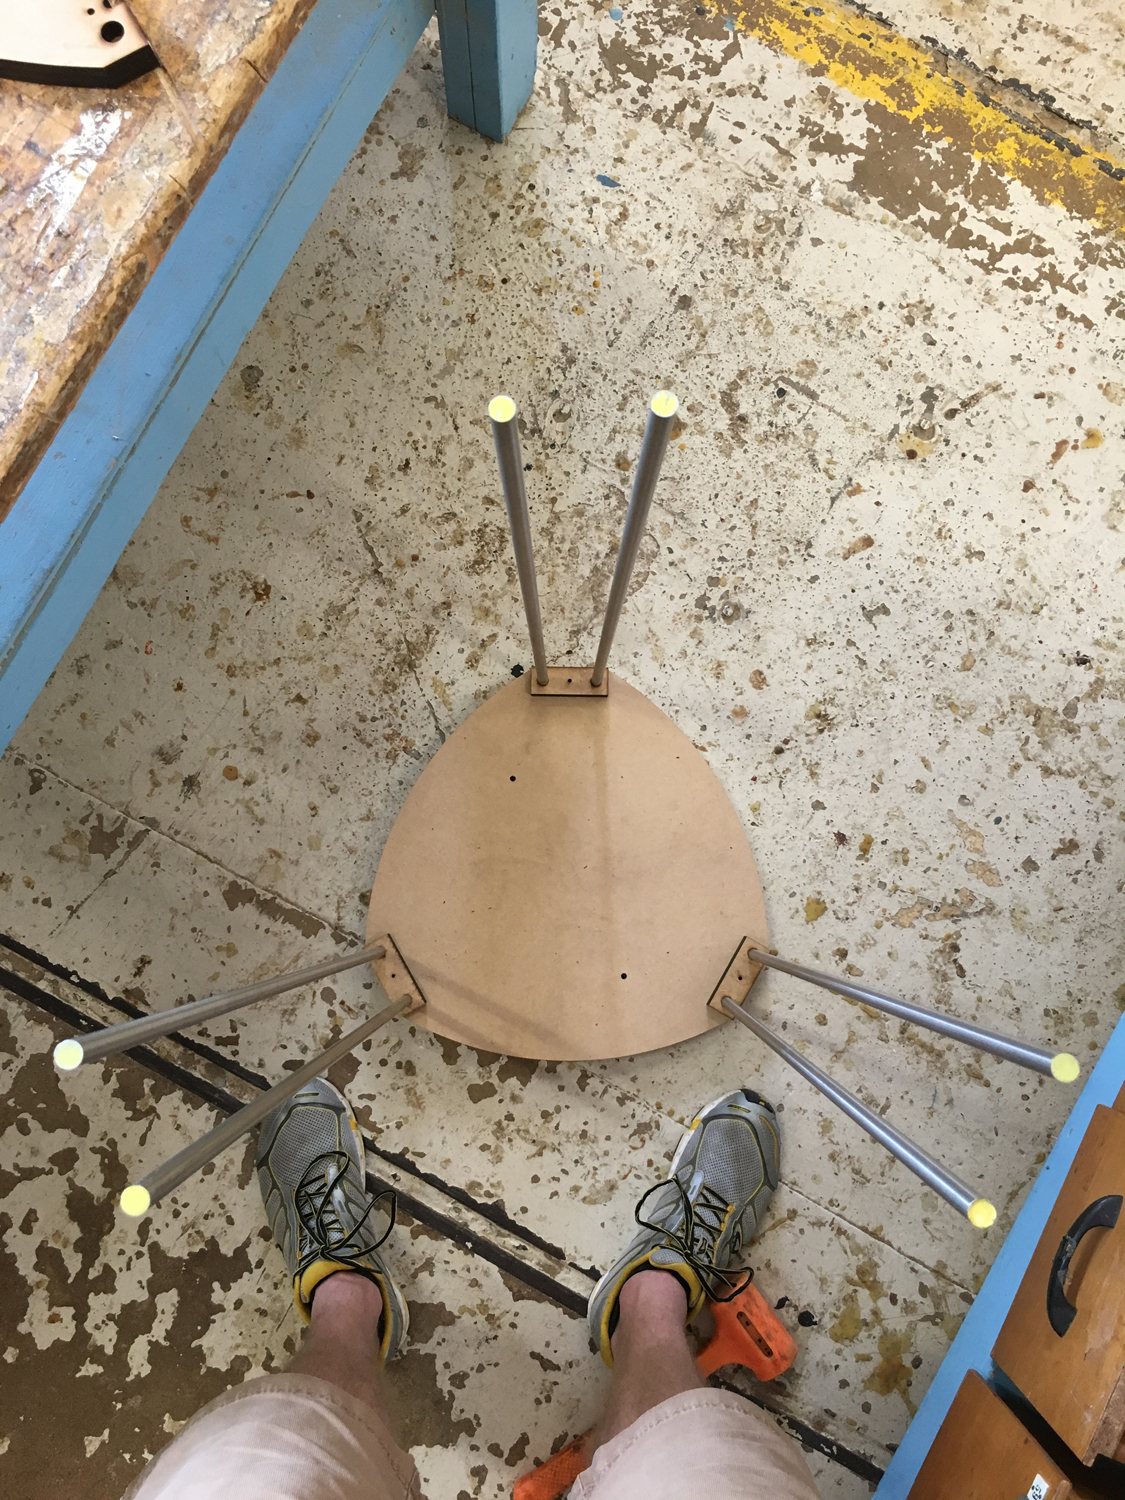
In hindsight, it would have been easier to use the laser cutter to etch the outline and hole location of these parts in 3/4" MDF, drill the holes using an accurate drill press and then cut them out using a band saw. This would allow me to skip glue ups all together. I think that the parts I have made so far will work just fine, but the method I just described would be faster and probably just as accurate. Hindsight is 20/20. Below are several pictures of the frame structure so far. The next step is to assemble the bottom belt pulley and attach the top of the frame.